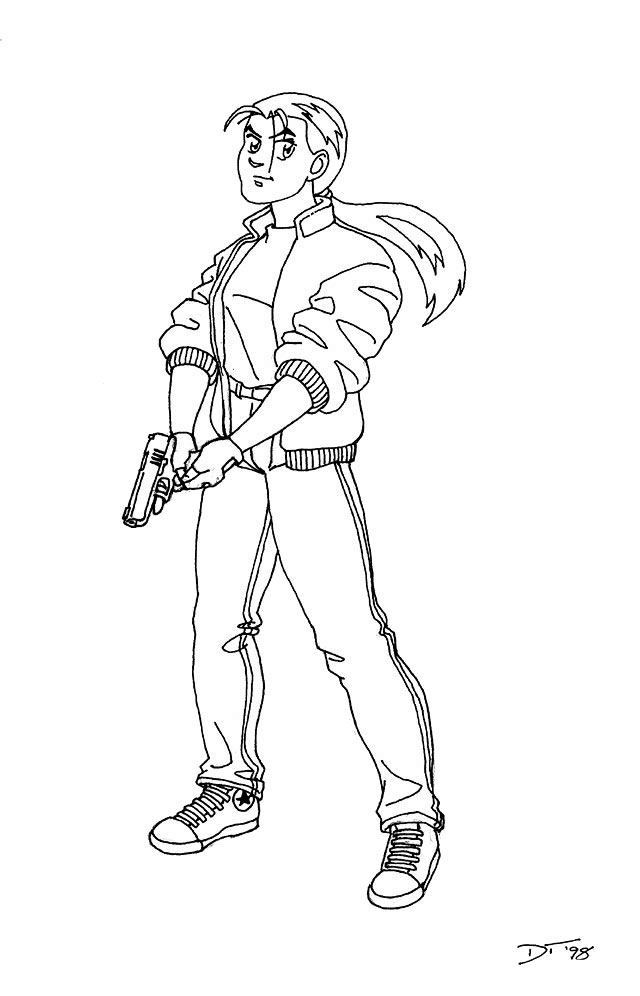
As promised, here’s a look at the process it took to create Kate for the film. It took nearly a month of work to create her, all told. However, about a week of that came from a previous version I created back in 2022 before starting on Restless Sleep. Then earlier this year, knowing that I wanted to animate Chinatown, I went through the process of updating and refining the character to make sure my job of animating her would be as easy and streamlined as possible.
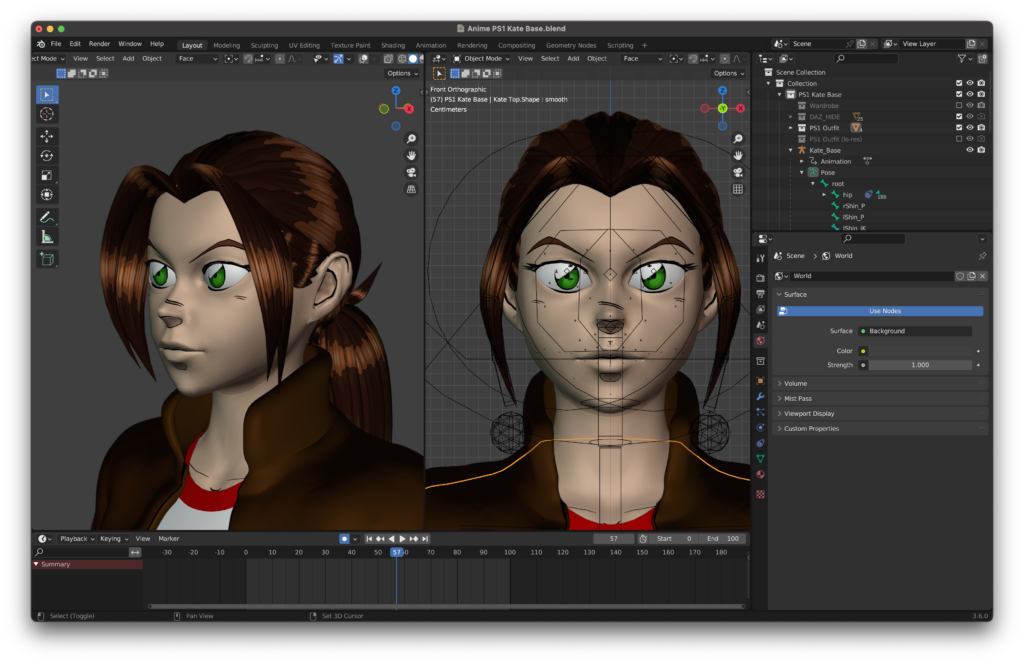
Original Kate design from 1998Kate fully rigged and ready to animate in Blender in 2024
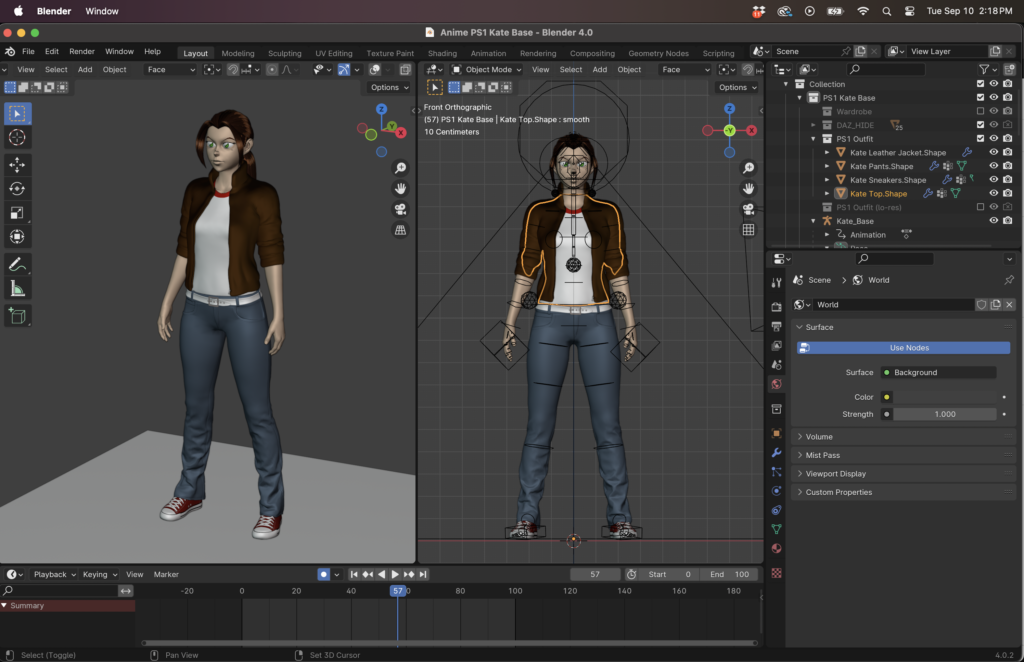
I started with the original Kate figure in DAZ Studio. Using the Genesis 8 Female figure as a base, I modeled the hair and face in Blender and imported the results back into DAZ Studio and applied them to the stock figure. Likewise, I modified the textures to reflect the cartoon look. The clothes were purchased and modded to closer match her outfit’s look from the comic.
Here’s what Kate looked like in DAZ Studio before she was exported to Blender.
Using a utility called “DAZ to Blender Bridge“, I exported the character rig to Blender for editing. At this point I have the body, hair, and clothes models and a basic bone armature, but there’s a lot left to do from this point.
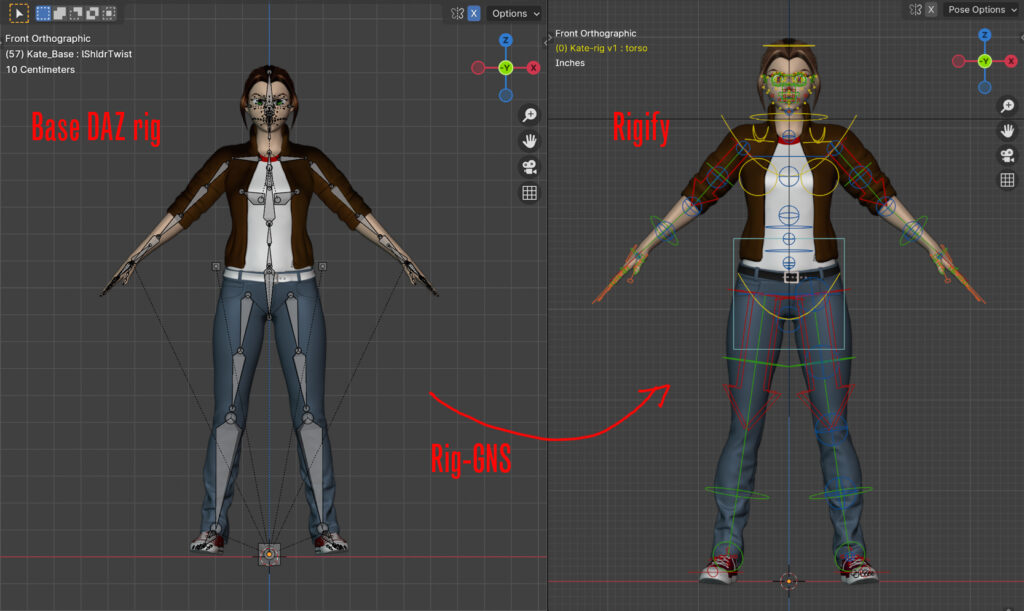
First, using a utility called RigGNS, I convert the basic Genesis 8 armature to the more sophisticated “Rigify” armature that comes with Blender. The “rigified” armature has way more control over how the character can move and has several incredibly useful animation features built in that makes animation a whole lot easier. The details are technical, but suffice to say it’s a huge improvement.
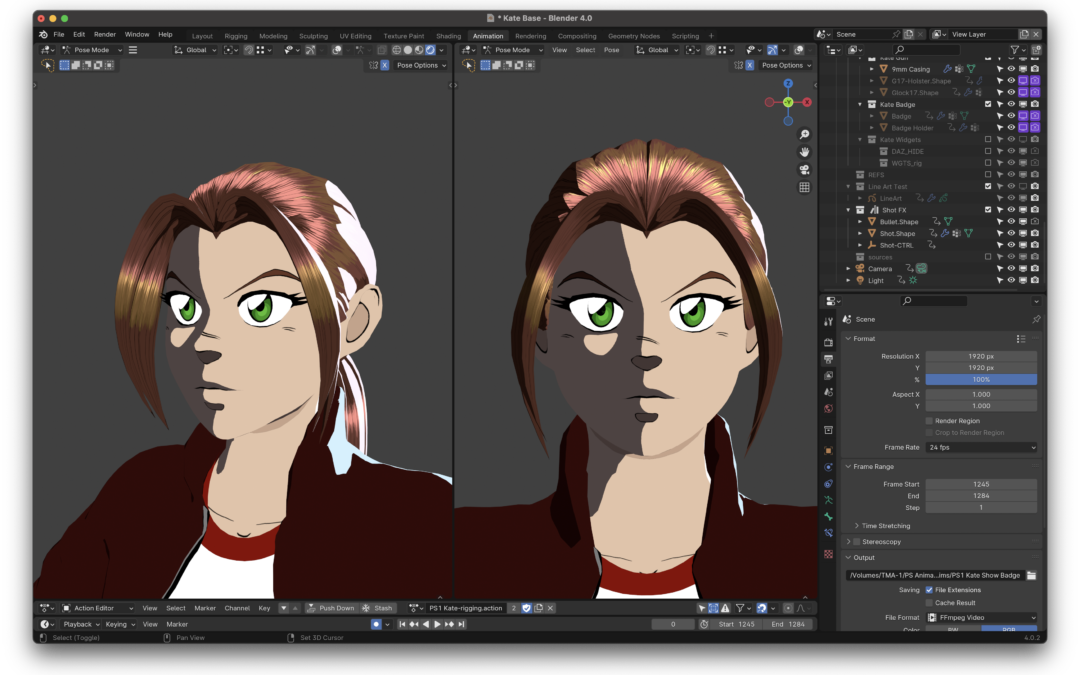
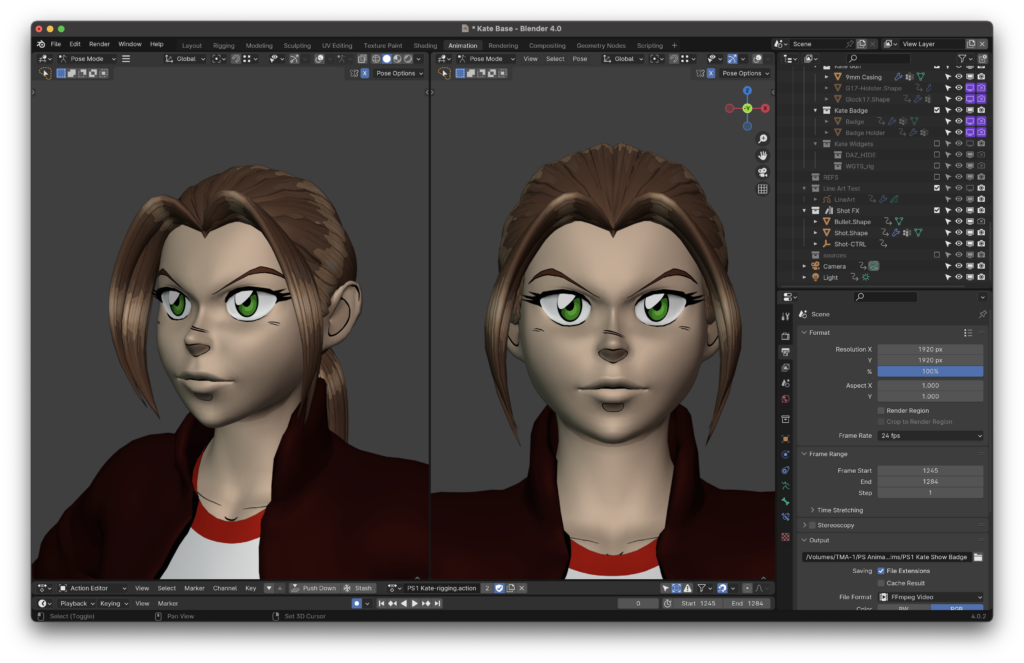
Now, Kate went through a couple of iterations at this point to before getting the final version that will be used in the film. First, I needed to do some additional modeling on the face and hair to clean them up and make them look better when rendering the cel-shaded look.
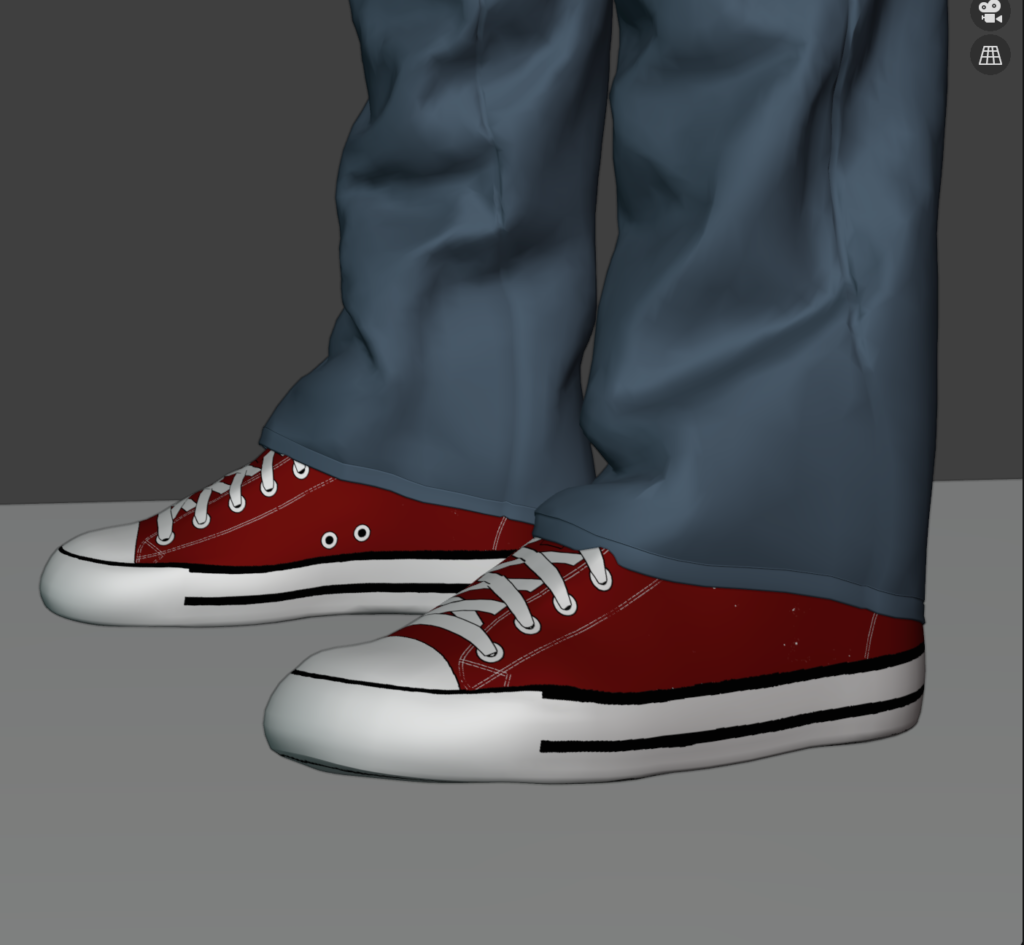
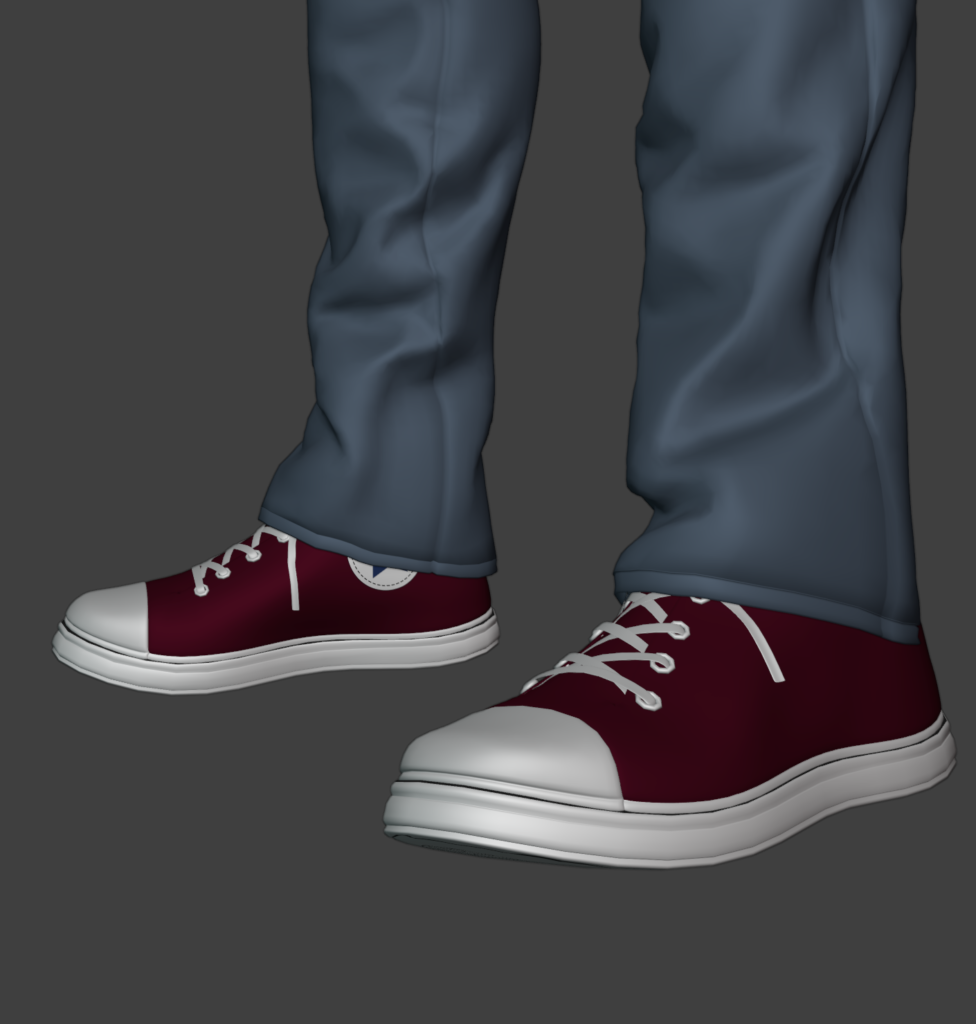
Original Kate modelUpdated Kate modelFinal cel-shaded model. The shadows on Kate’s face are baked in and controlled with a custom property. The results in better shadows on her face and less cleanup in After Effects for me!Old shoes……new shoes!
I also swapped out the shoes for a better model. I also had to rig the hair and the jacket myself.
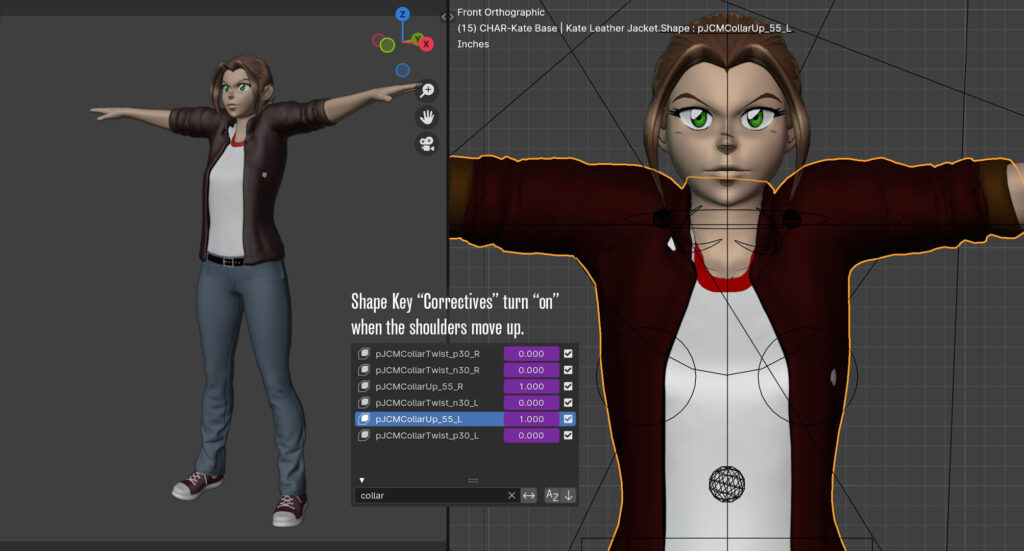
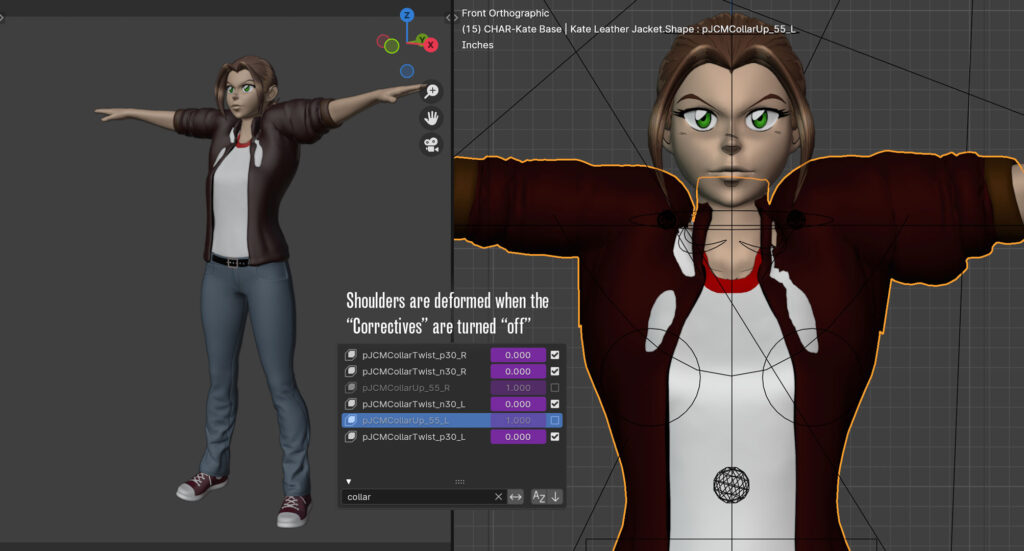
As I said last week, there’s a ton of moving parts to set up for each character rig. Even after the character is set up to move, there’s some tweaks that have to happen to model to help with movement, especially with the shoulder, elbow, hip, and knee areas. To help speed this process up, I’ve created a pre-made animation that moves all the limbs one by one 5 frames at a time, so I can easily create something called “correctives” that fix the model when certain bones are moved to certain positions. This is especially important in the shoulder area, where the model gets really deformed if these fixes aren’t put in place.
This setup process has to be repeated for both the character model and all the clothing models, for all the various arm and leg
Testing all of Kate’s movements in the character rig file.
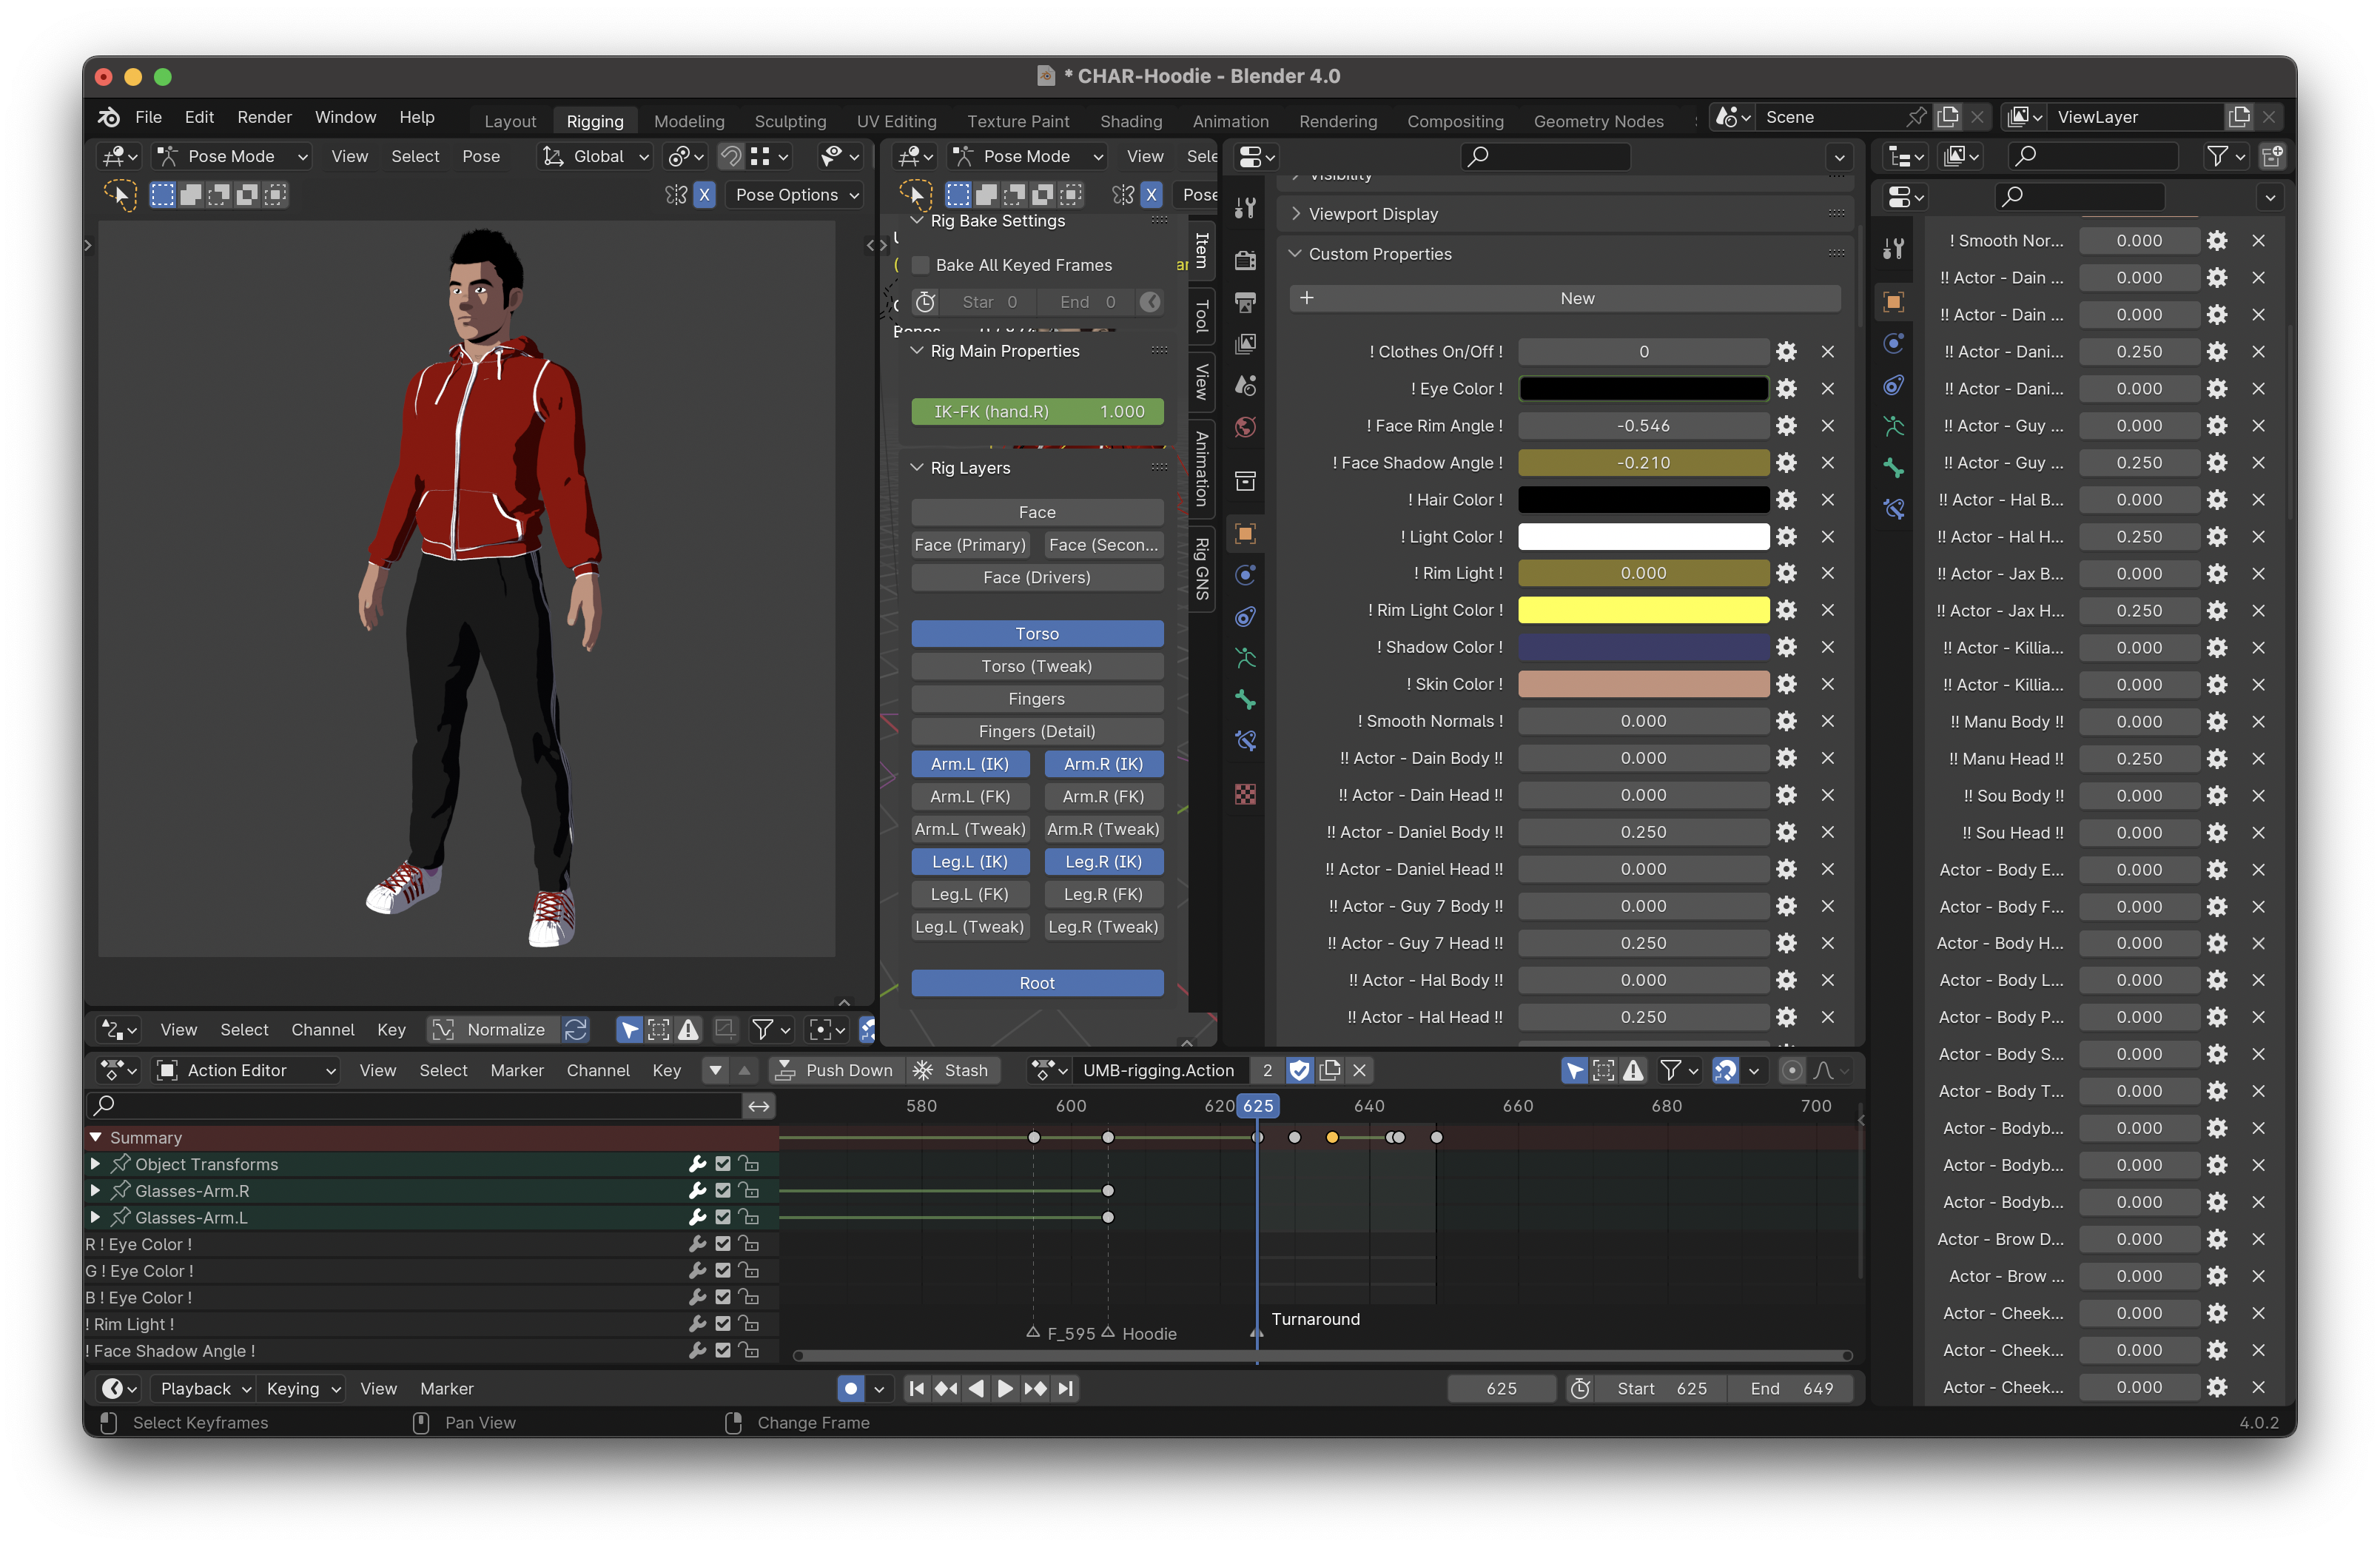
Setting up the character in advance like this also gives me a chance to “bake in” some of the movements like facial expressions and hand gestures that will be used over and over again. So I used Blender’s “Asset Library” to save out all of Kate’s main expressions and hand gestures, so I can quickly dial them in during the animation process.
Kate’s expression library (bottom) and the facial controls associated with her expressions (top center).Kate’s hand pose library. Using these makes animating her hands so much easier!
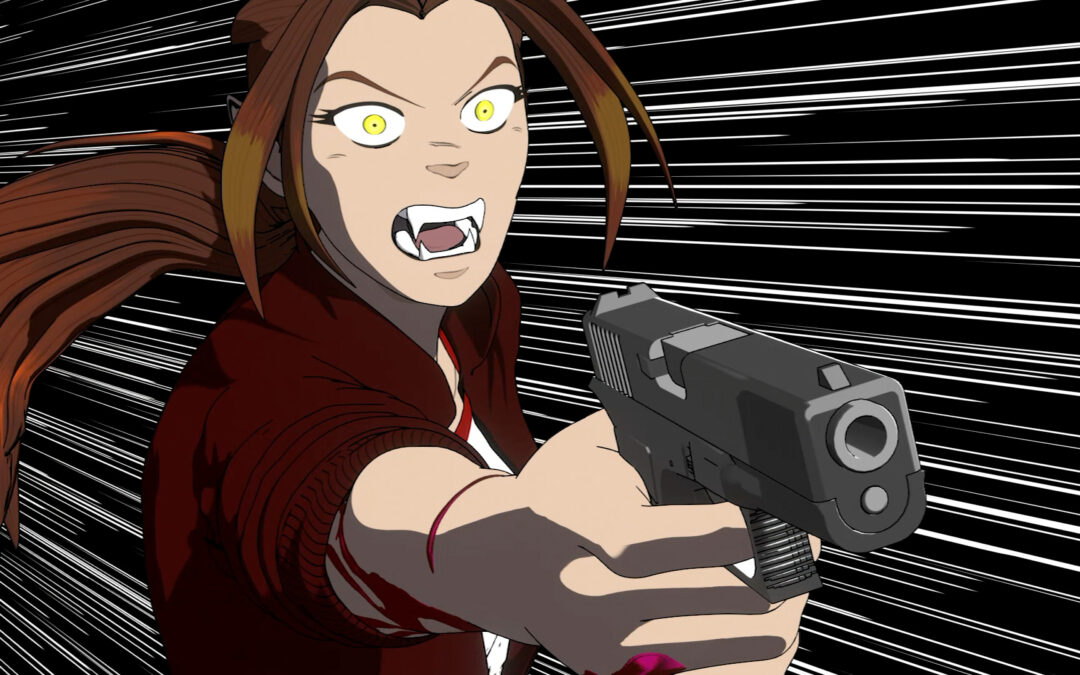
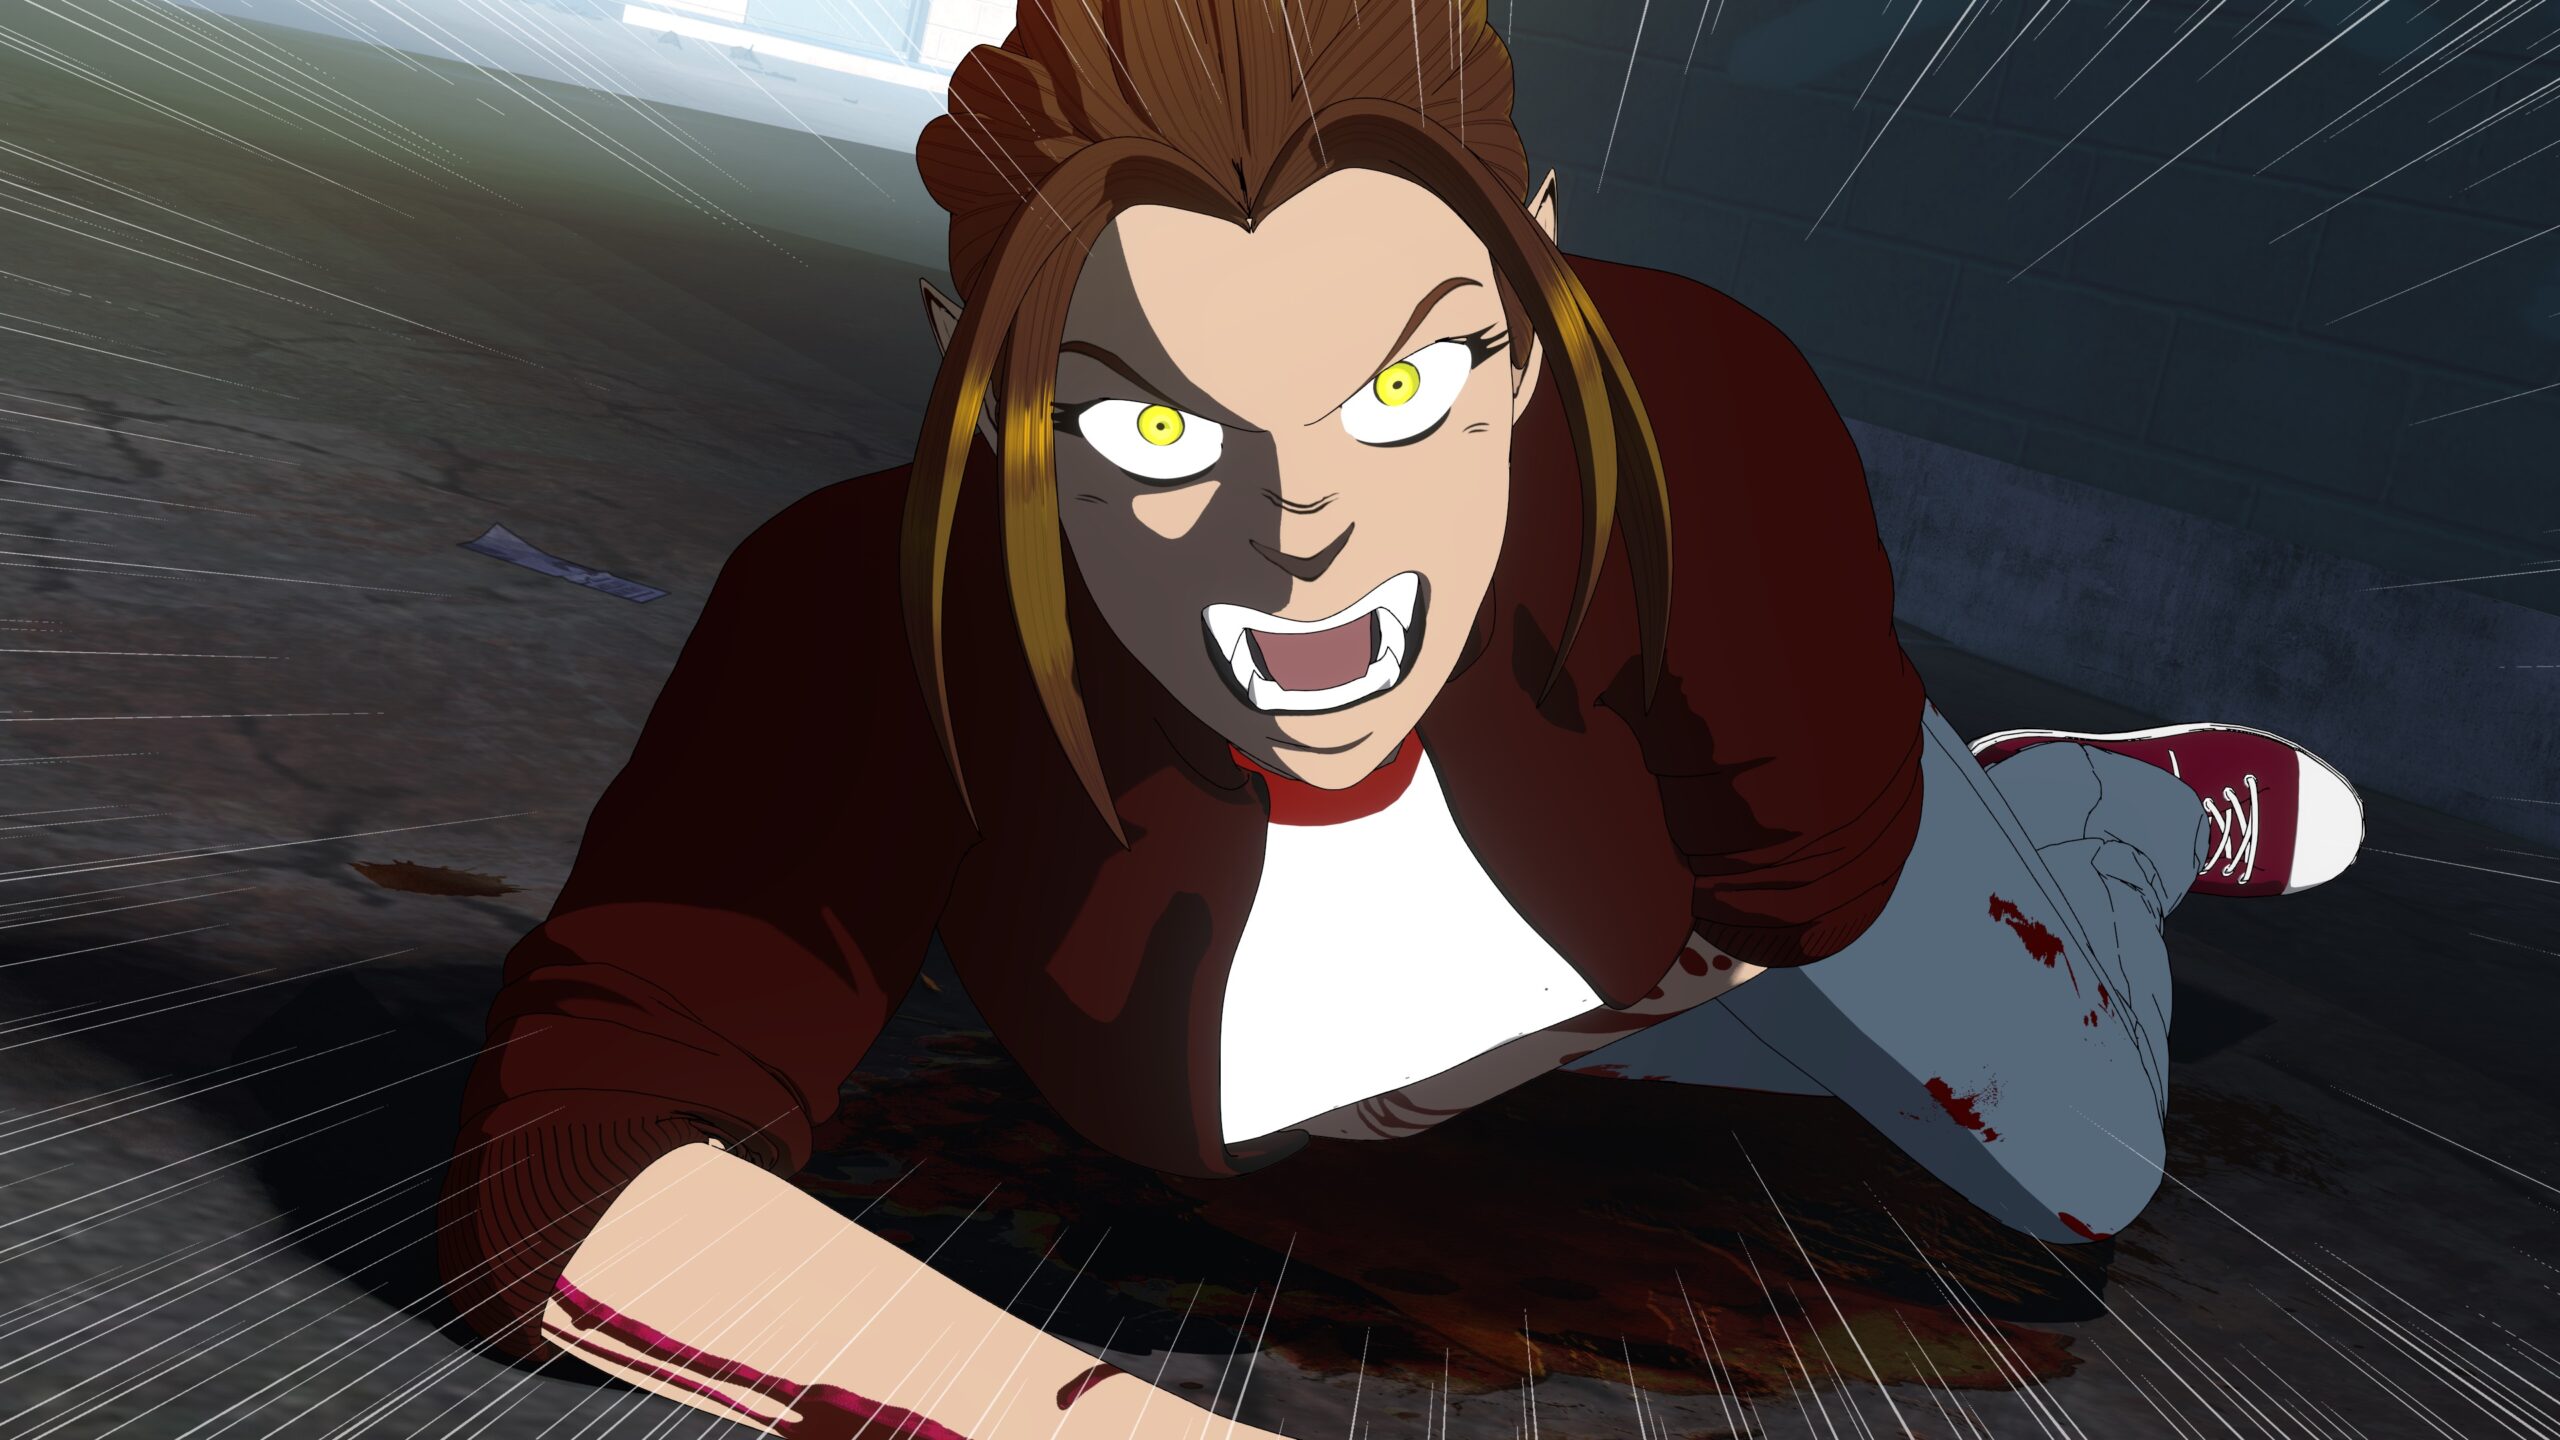
And that’s just for the basic character! She also can turn feral and bleed! But we’ll cover that in a future post. In the meantime, I hope this gives you a better idea into all the work that goes into making a character that is ready to animate!
The most challenging part of making animated film is the characters. While it’s not exactly easy to make all the sets and props in 3D, they don’t have to move. Or if they do, they’re relatively simple to set up. Not so with characters. Even the most basic human character has dozens of controls to set up for basic movement and facial expressions, and that doesn’t even factor in things like hair or clothes or any custom aspects—like going feral and turning into werewolf!
Because I’m just a single human, there’s no way I could create all that stuff entirely on my own. While I might be able to build a single character from scratch at this point, filling out a cast of over a dozen characters would take months per character. There’s no way I have that kind of time, so I rely on a combination of free and purchased models to help get me started.
All the characters are based around DAZ3D’s free Genesis 8 platform, imported into Blender where they are customized and rigged for animation. All their clothes were purchased from the DAZ store, and again modded to match the character designs from the comic. Likewise, a number of the props are purchased models, but I model custom stuff that I can’t find elsewhere. The sets are also a mash-up between things I model myself and purchased items and buildings. Anything specific to the scene is likely to get custom modeled, while the background details and everyday items are more likely to be assets I’ve bought and modified.
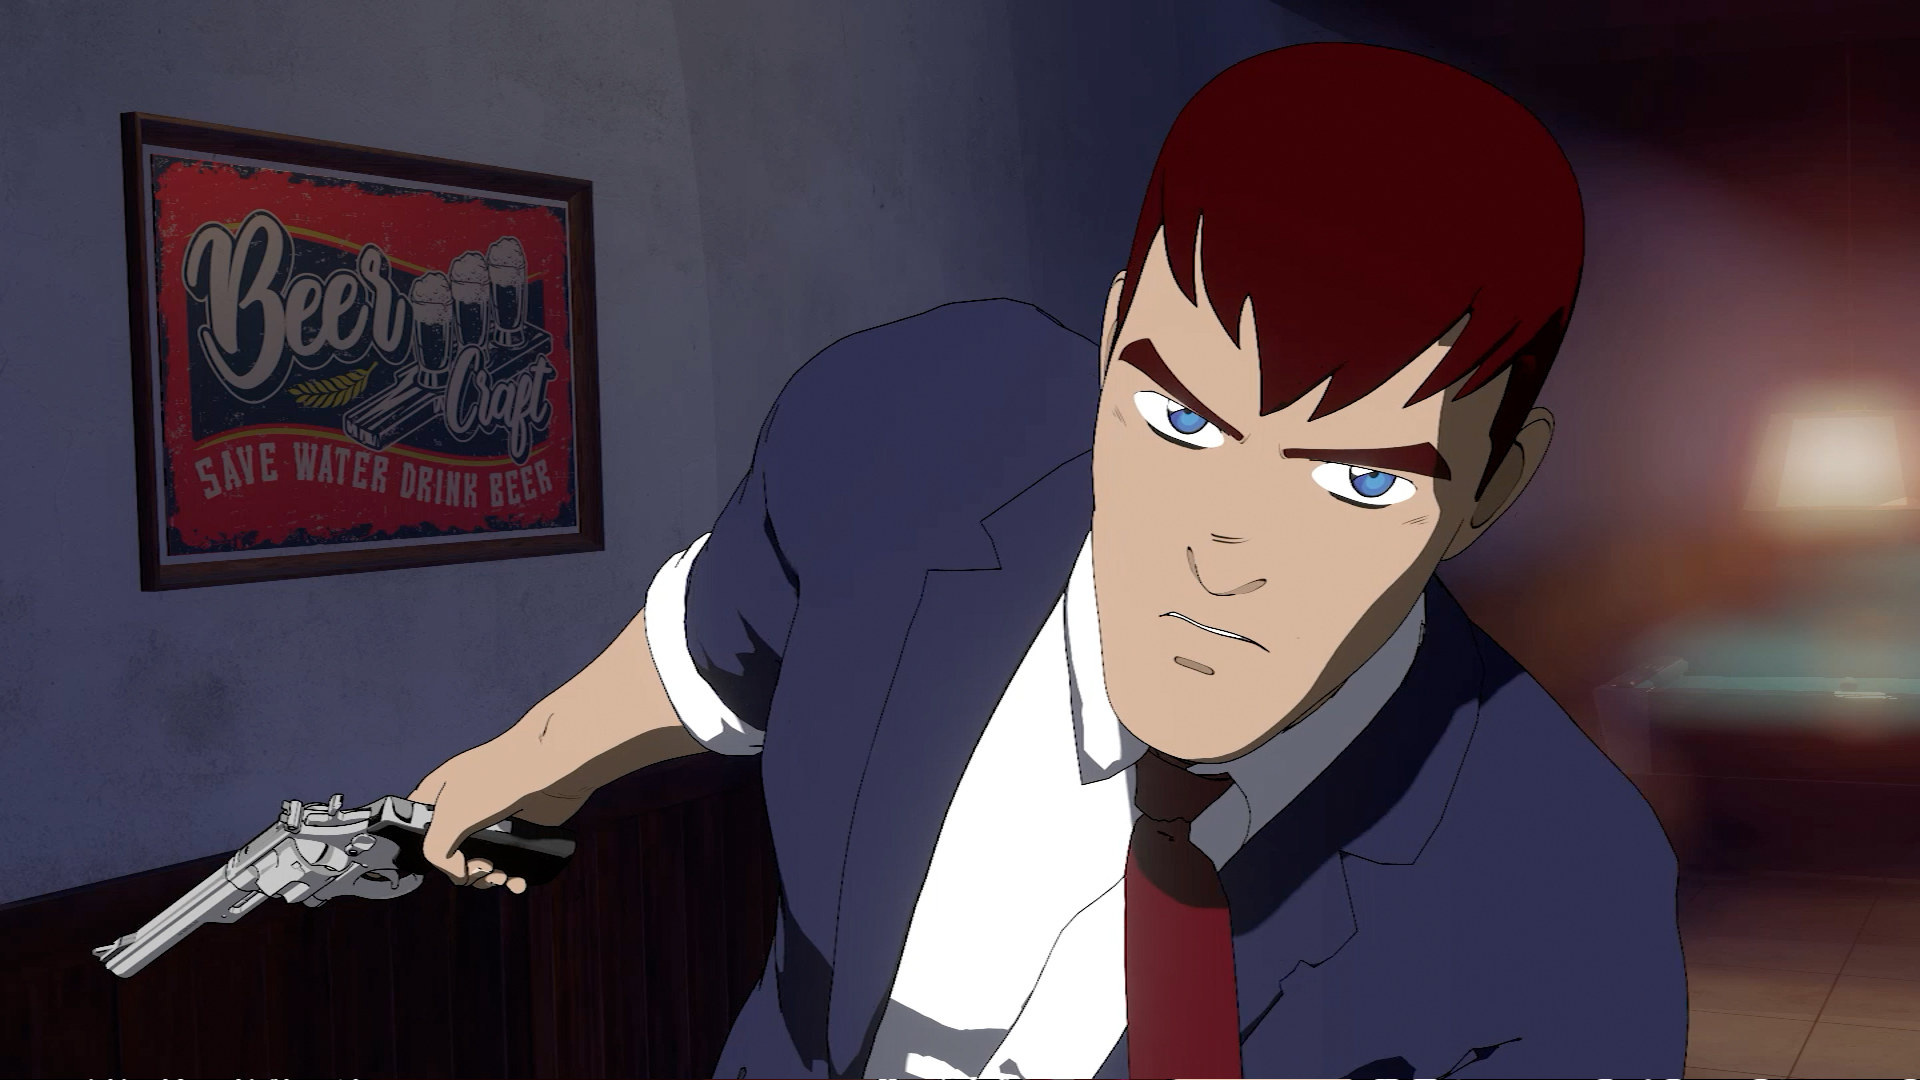
All of the main characters—Kate, Mike, and Chow are customized rigs exported out of DAZ and modified in Blender to give the stylized look that more or less matches their look in the comic.
Kate’s transformation is controlled with a few simple sliders, which saves a lot of time instead of having to dig around to find a bunch of separate controls in the Blender interface.Animating a run cycle. The shapes over Chow’s body are the controls that make him move. The rig is like a digital puppet!
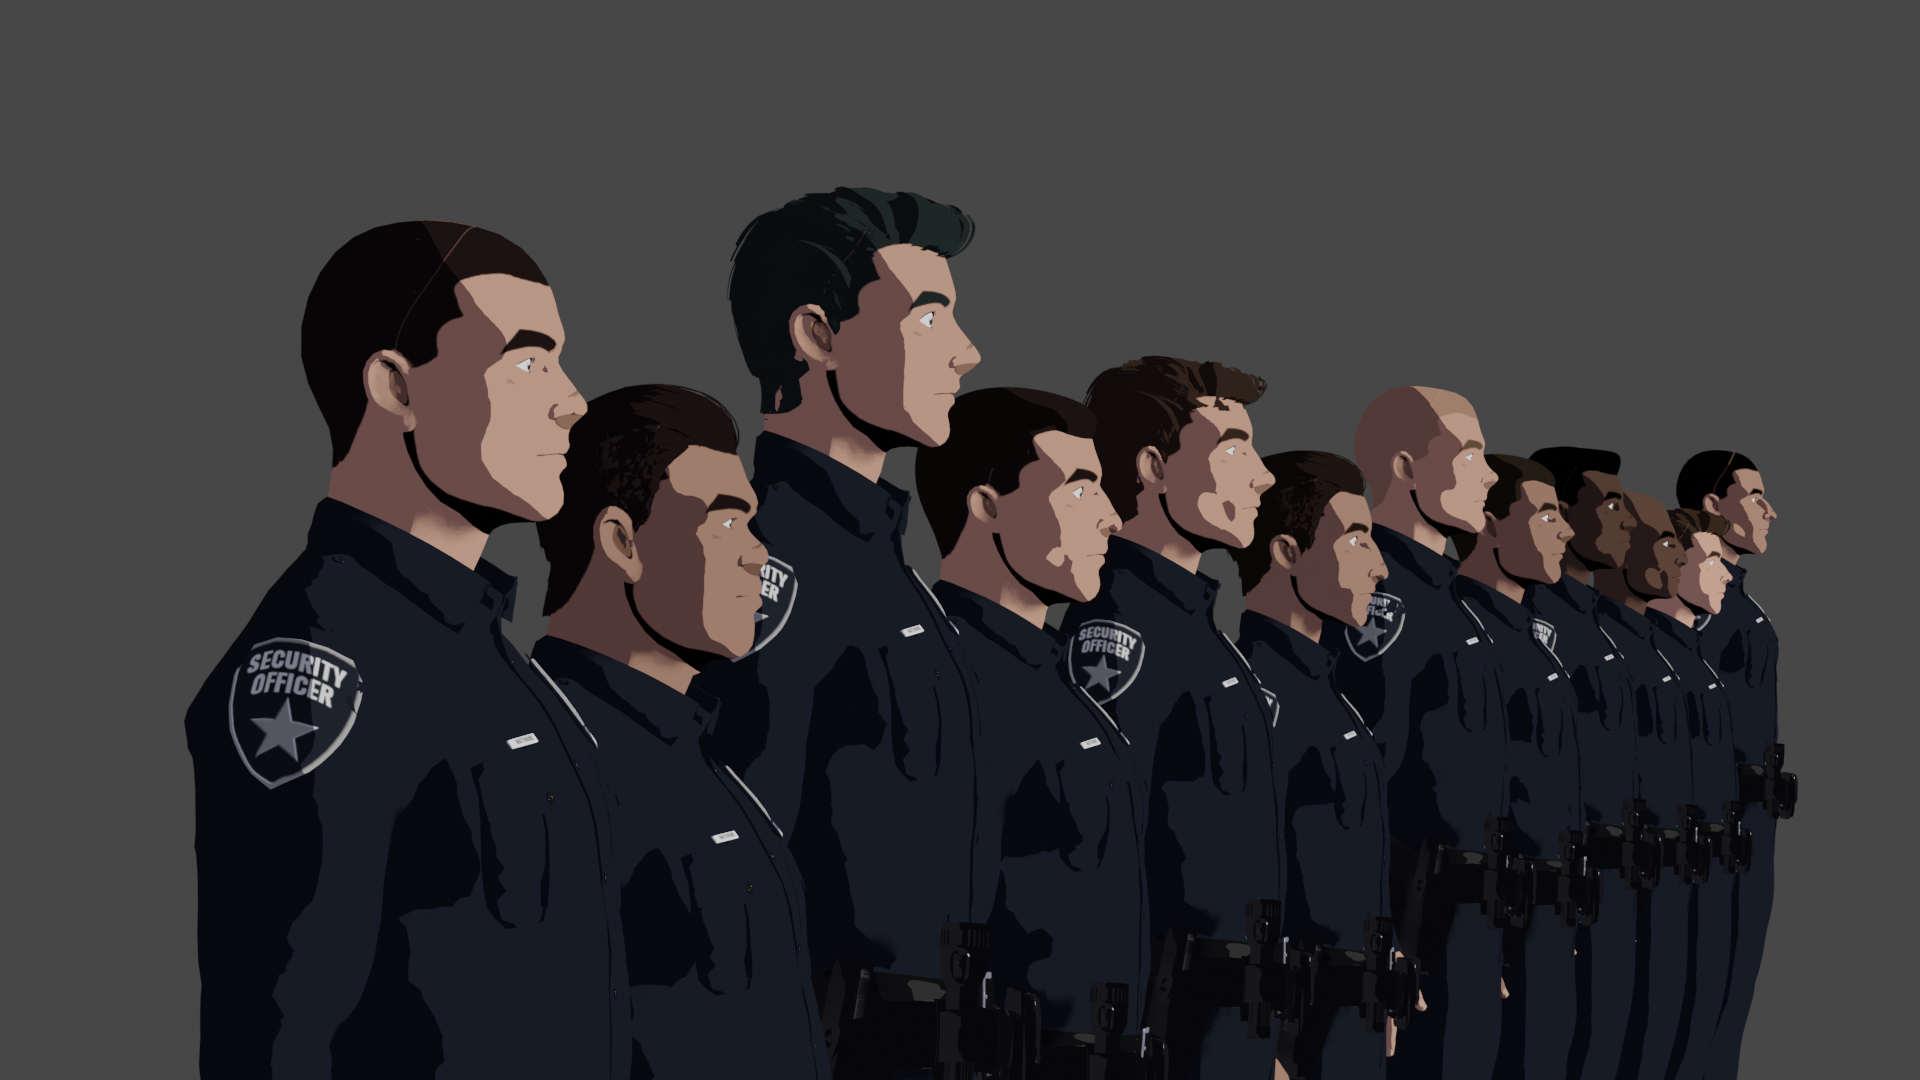
The supporting cast is being created using a what I call “universal rigs.” Unlike the main characters, these are set up with controls to change facial features, body type, height, weight, colors for the skin, hair, and eyes, and even have some basic haircuts and outfits already set up. In order to create a new character, all I need to do is tweak a few settings and voila! A new basic character is ready. That’s great for background characters, but for more specific supporting cast, I have the option to export new outfits and hair, modify the details in the textures and add any custom features like hair and clothing controls. All told using these “universal” rigs shaves days (or weeks!) off of the production time.
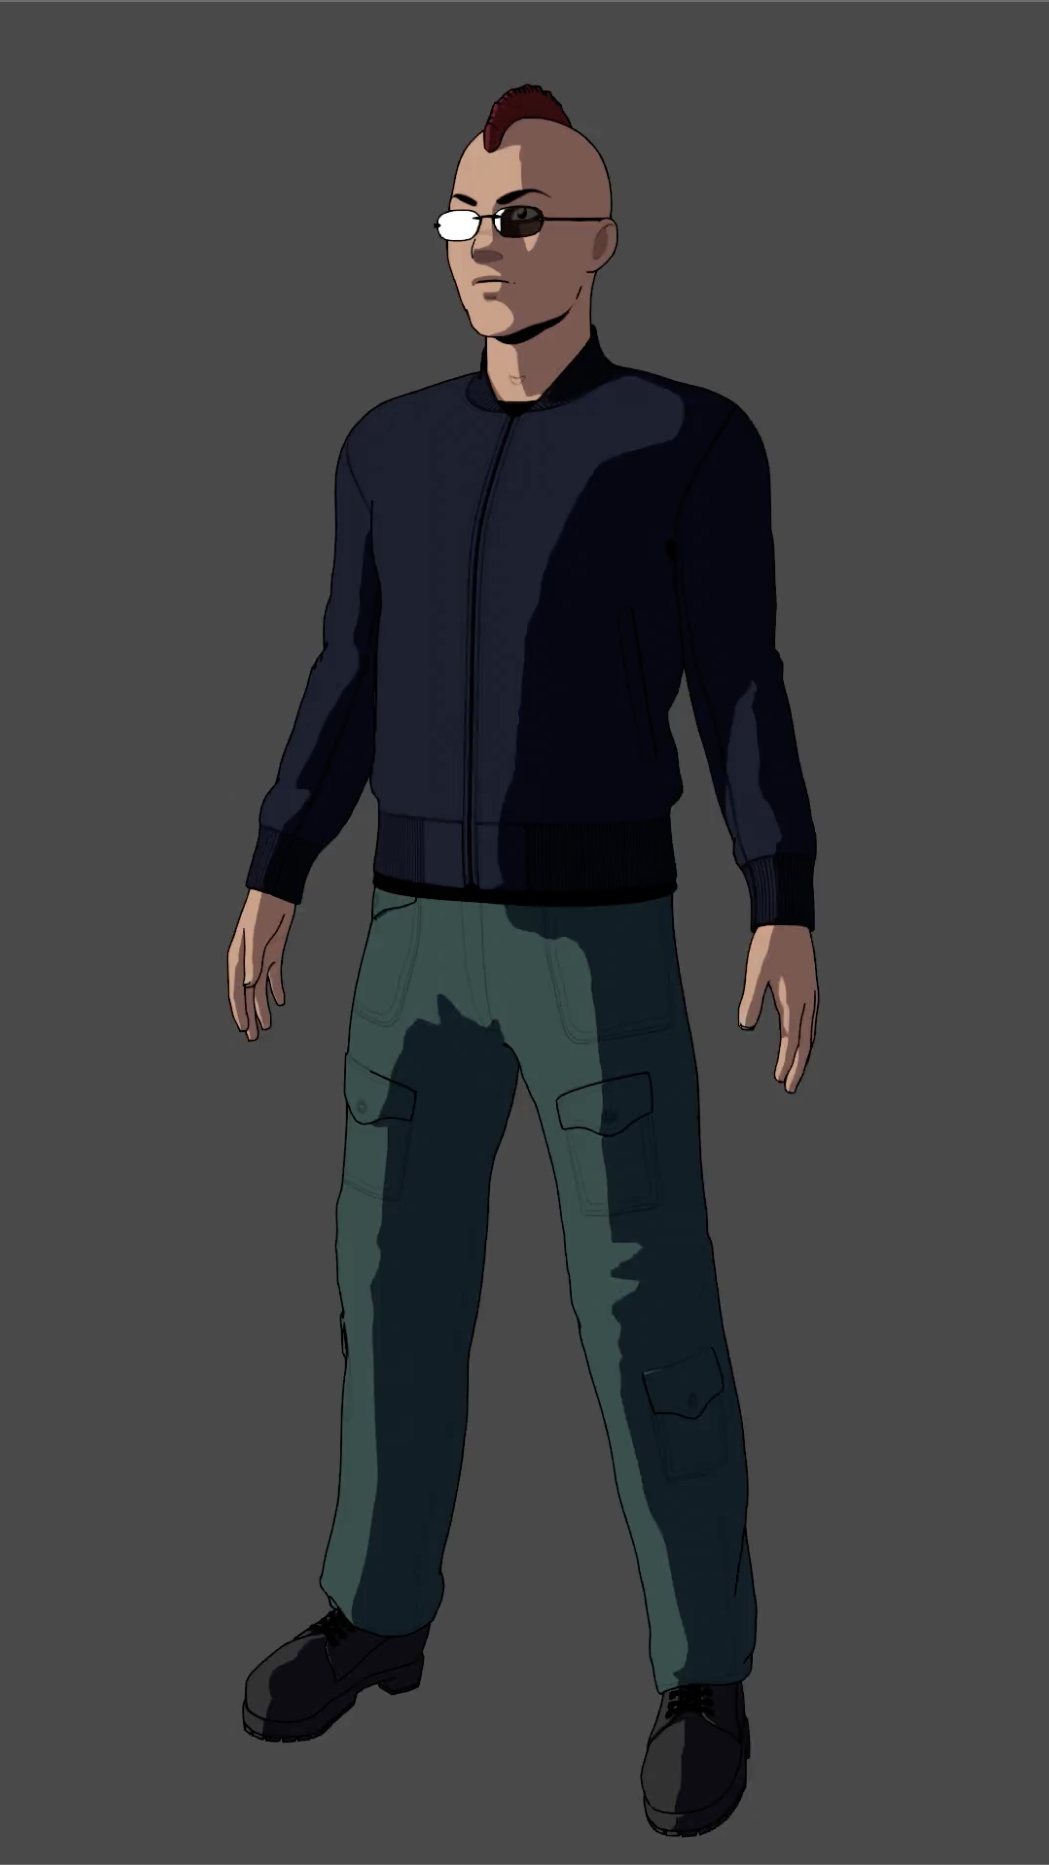
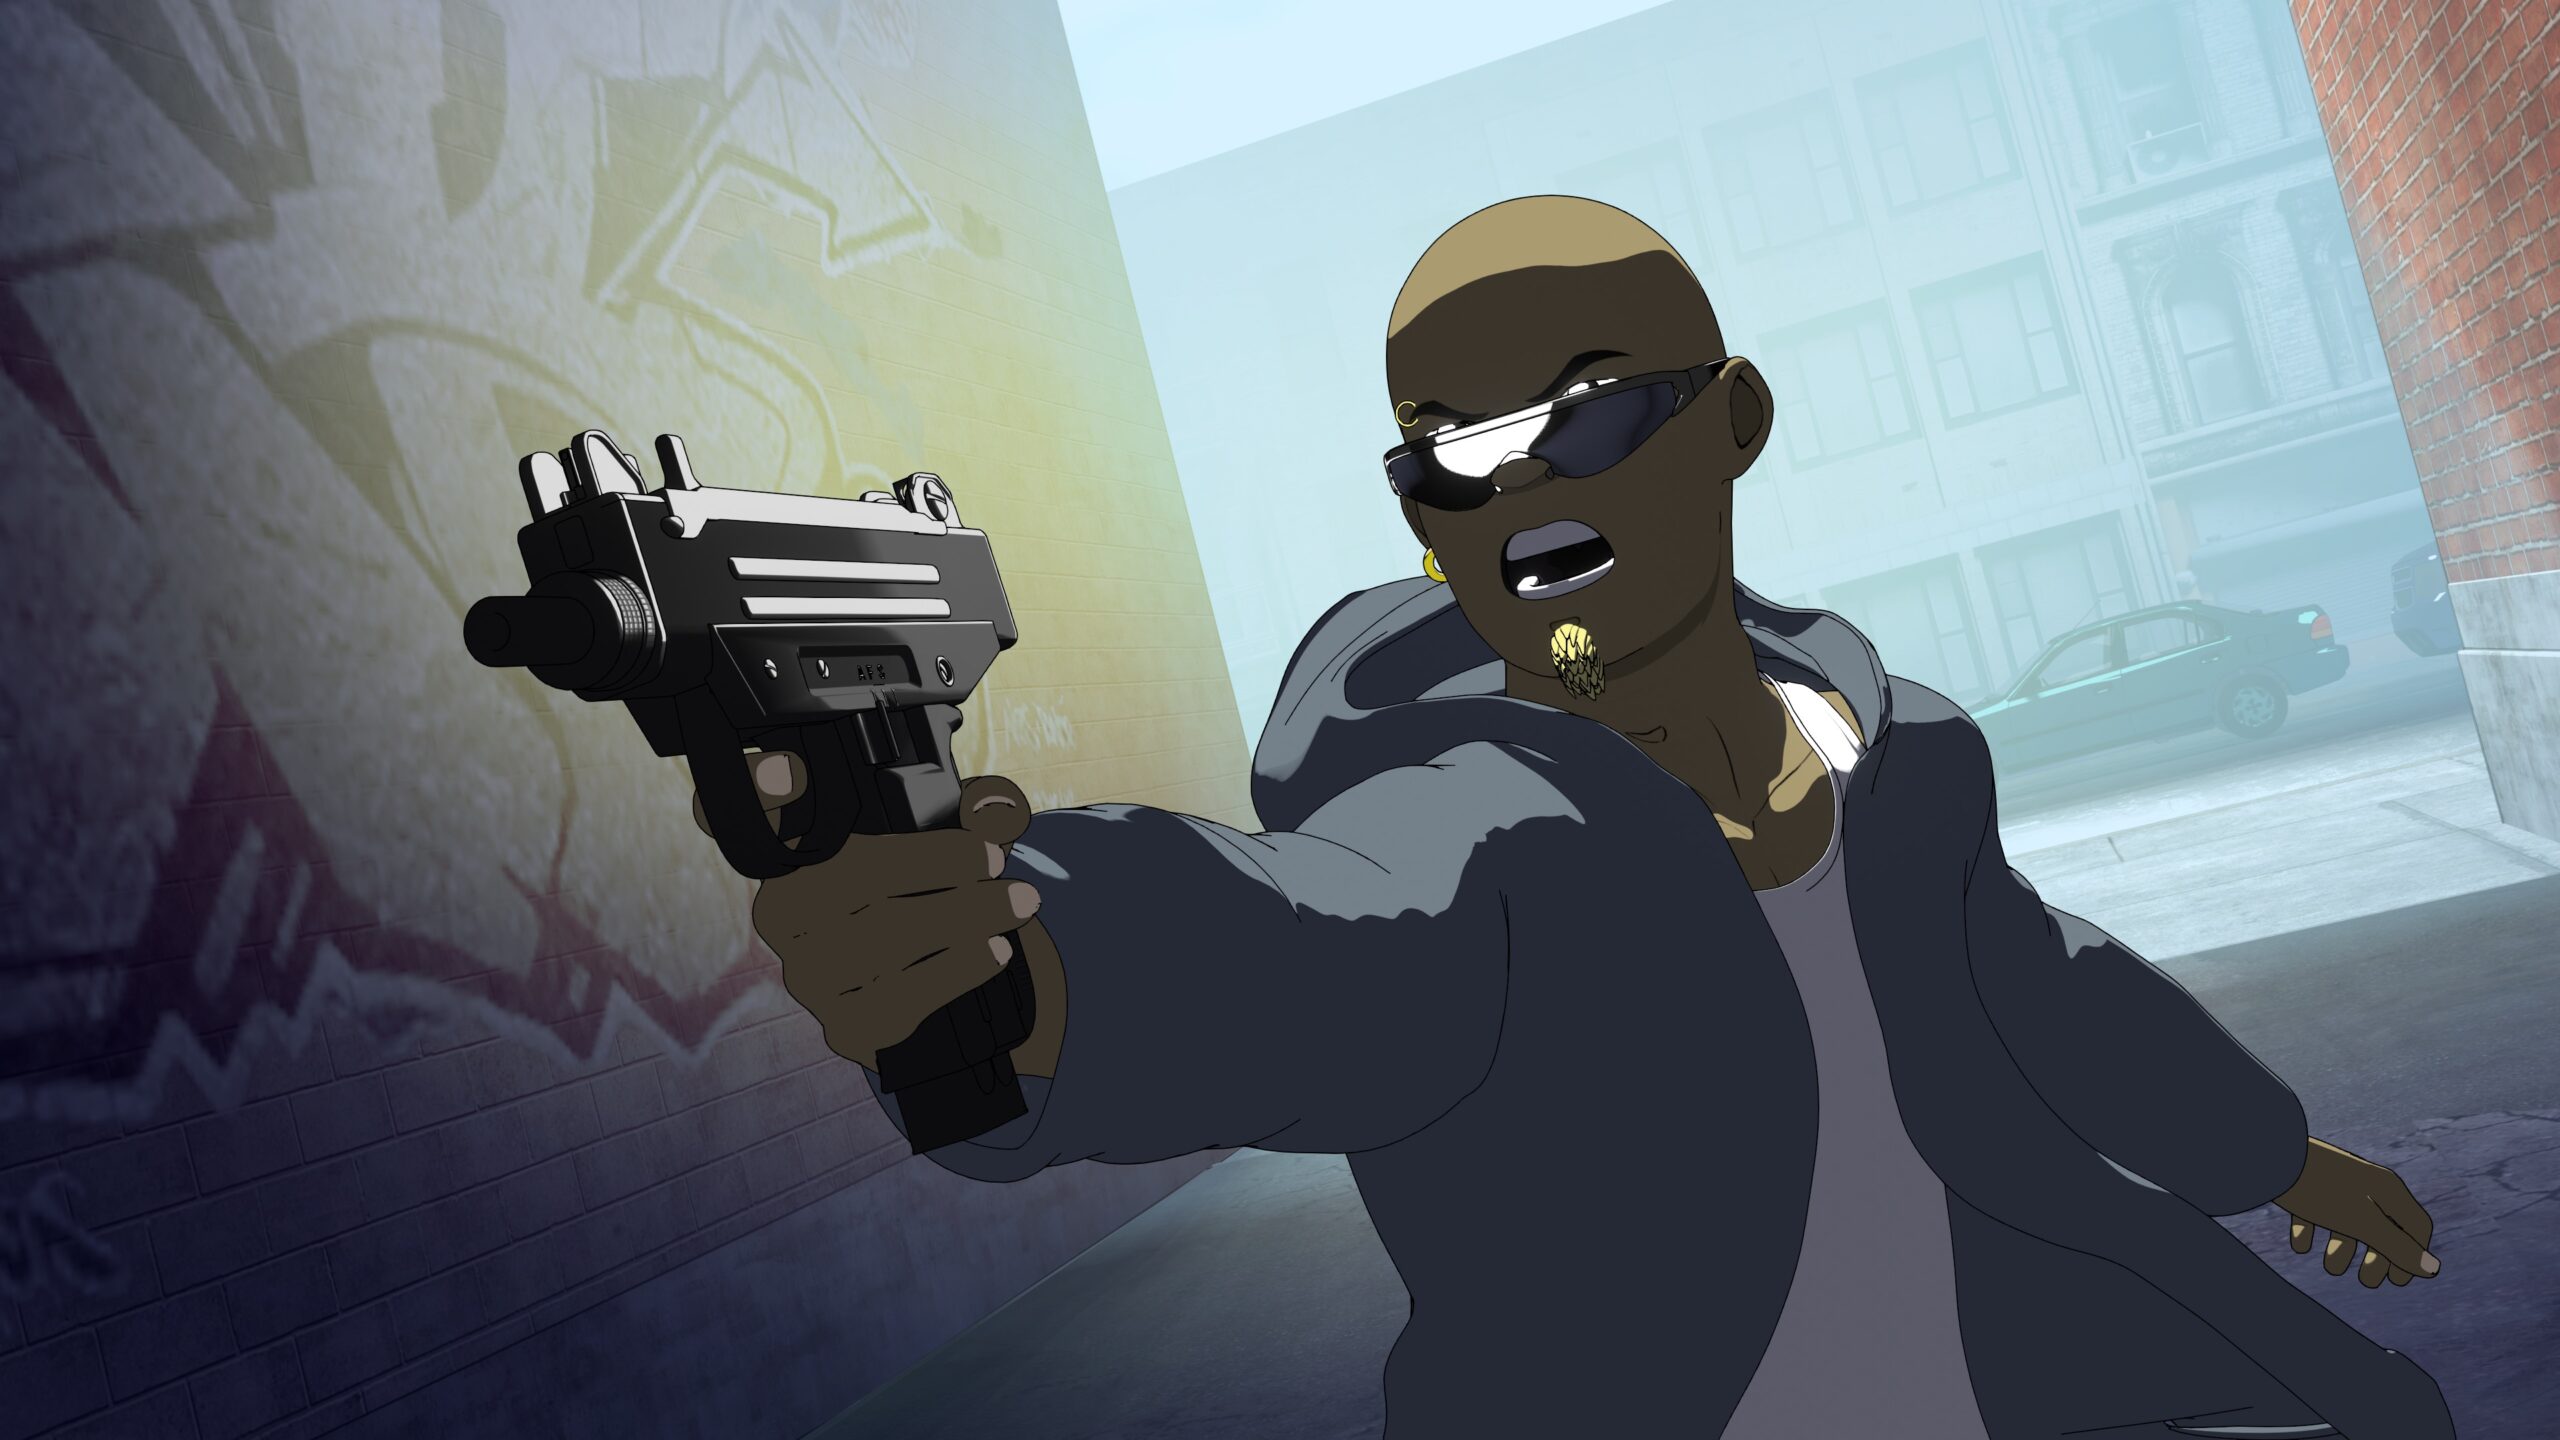
Gang members created using an updated version of the universal male rig, but customized with new clothes, hair, and detailed texture maps.
The controls for the character’s colors, face, and shape are on the lists on the right hand side of the screen. All this took about a week to set up for the initial universal rig, but now that means I’m saving a week of work every time a new character gets created using this as a foundation. Basically, I’ve transferred a huge chunk of the versatility of the DAZ3D Genesis 8 platform over to Blender, here. These face and body shapes are all presets in DAZ. What I’ve added here is the cartoon look, stylization, and custom Blender-specific rig controls.
Next week we’ll take look at the process it took to make Kate!
Back in 1999 when I first wrote the scene, I could clearly picture it playing out as an anime. Even my comic storytelling style has always been heavily influenced by movies and animation, to the point where I really felt like I was storyboarding the action I could clearly see in my mind’s eye. In Restless Sleep, I had my first taste of doing that with Kate’s werewolf transformation, but while that was a technical challenge on its own, it had fewer moving parts overall. Also, I was pretty green as an animator, and still had a lot to learn about timing and character performance.
This time I feel ready to tackle a more complete story, and , I want more action, more characters, and dialogue!
Restless Sleep was a great project to learn animation, but because it was just that—basically a student film—it was best that I did it privately in my studio. I wasn’t ready to share it until I knew it would actually be completed. Chinatown will be my fourth animated project following two major projects for the Storiaverse app—This House, and the upcoming piece, Character Assassin. And this time I’m ready to bring you into the studio while it gets made!
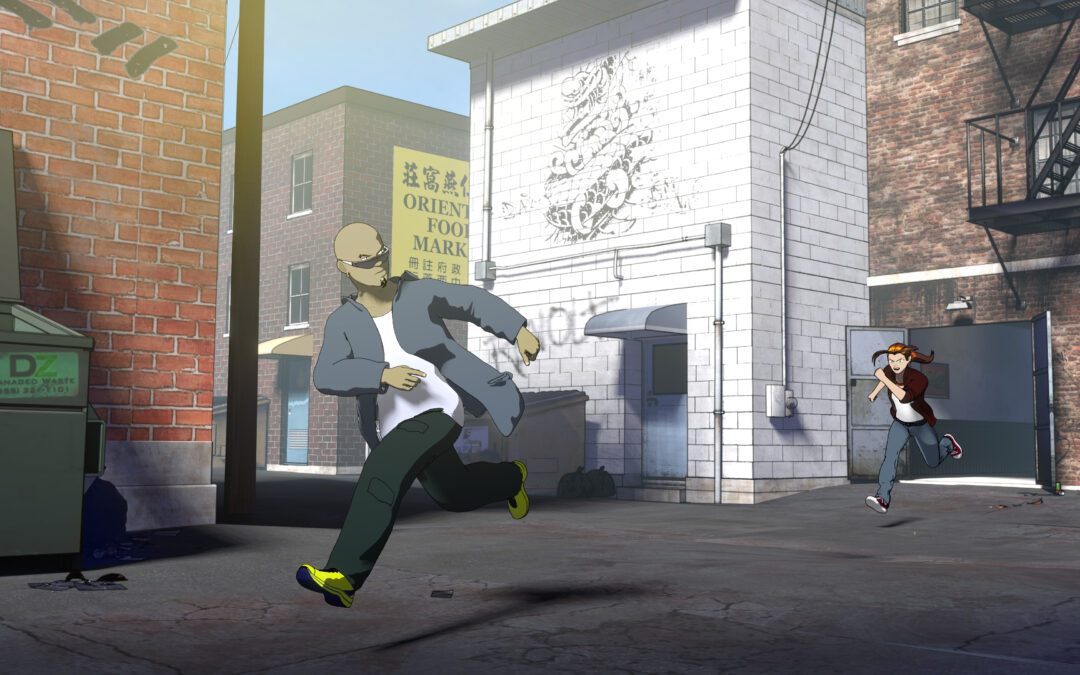
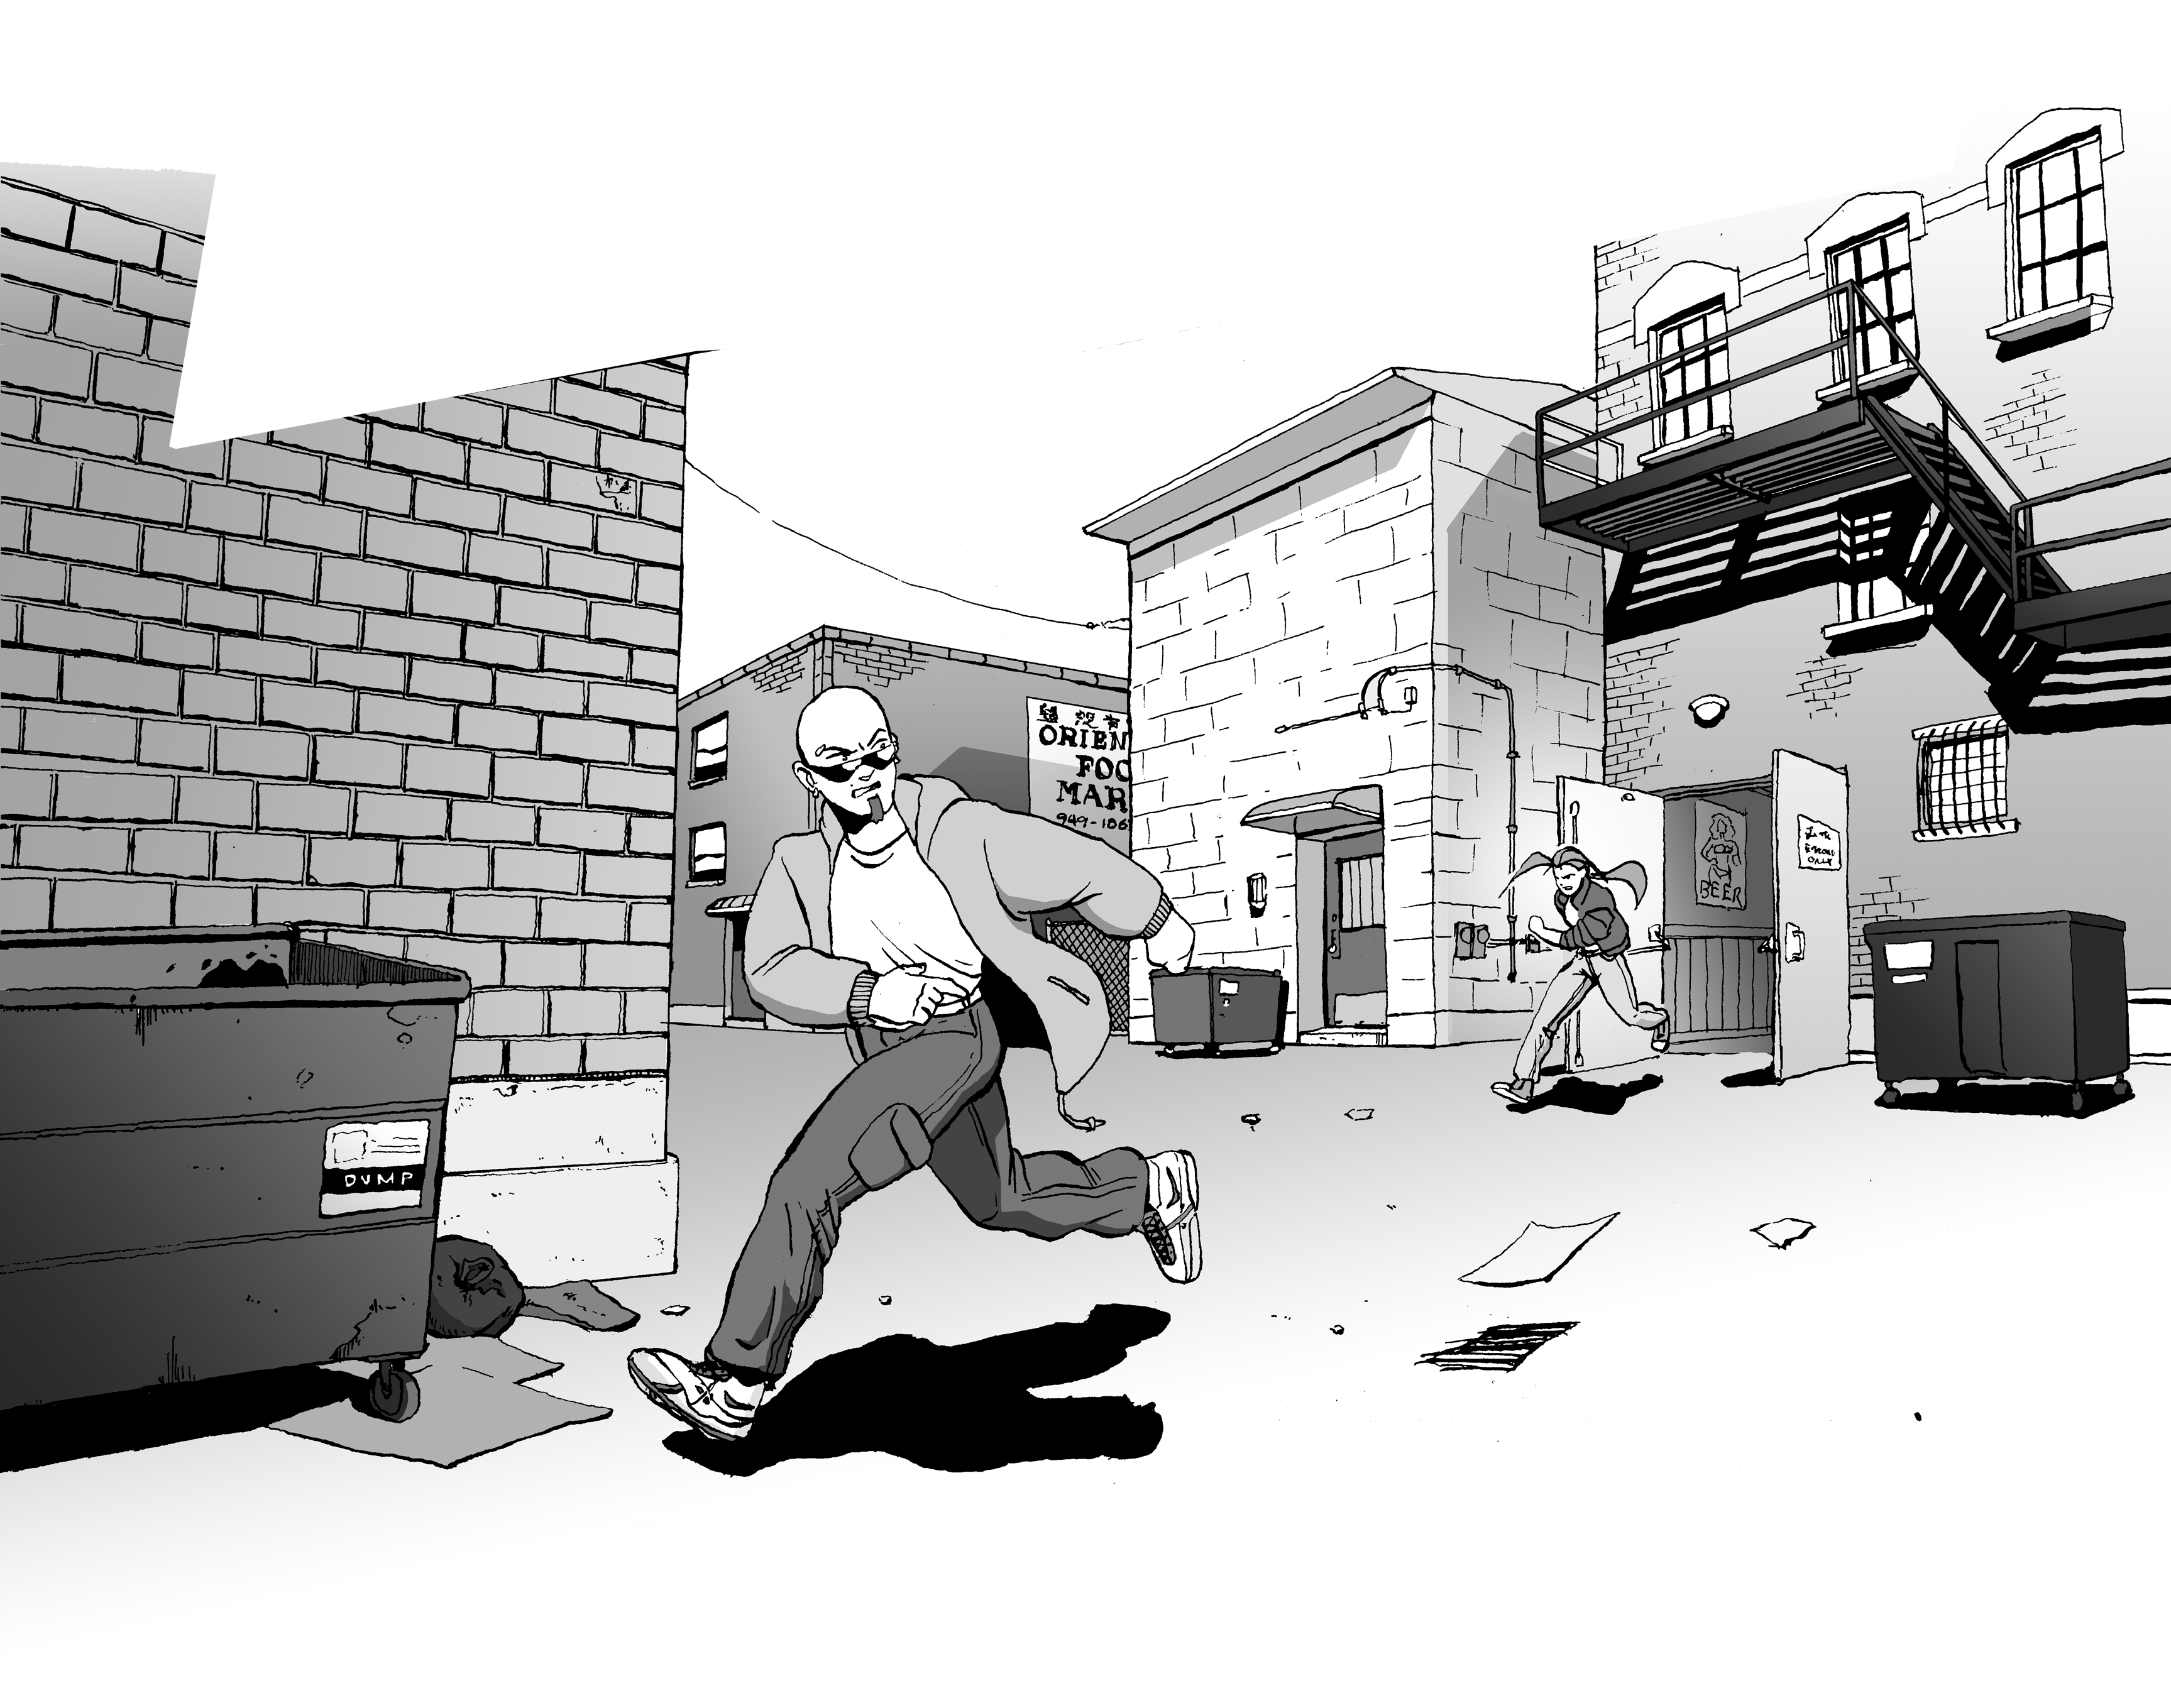
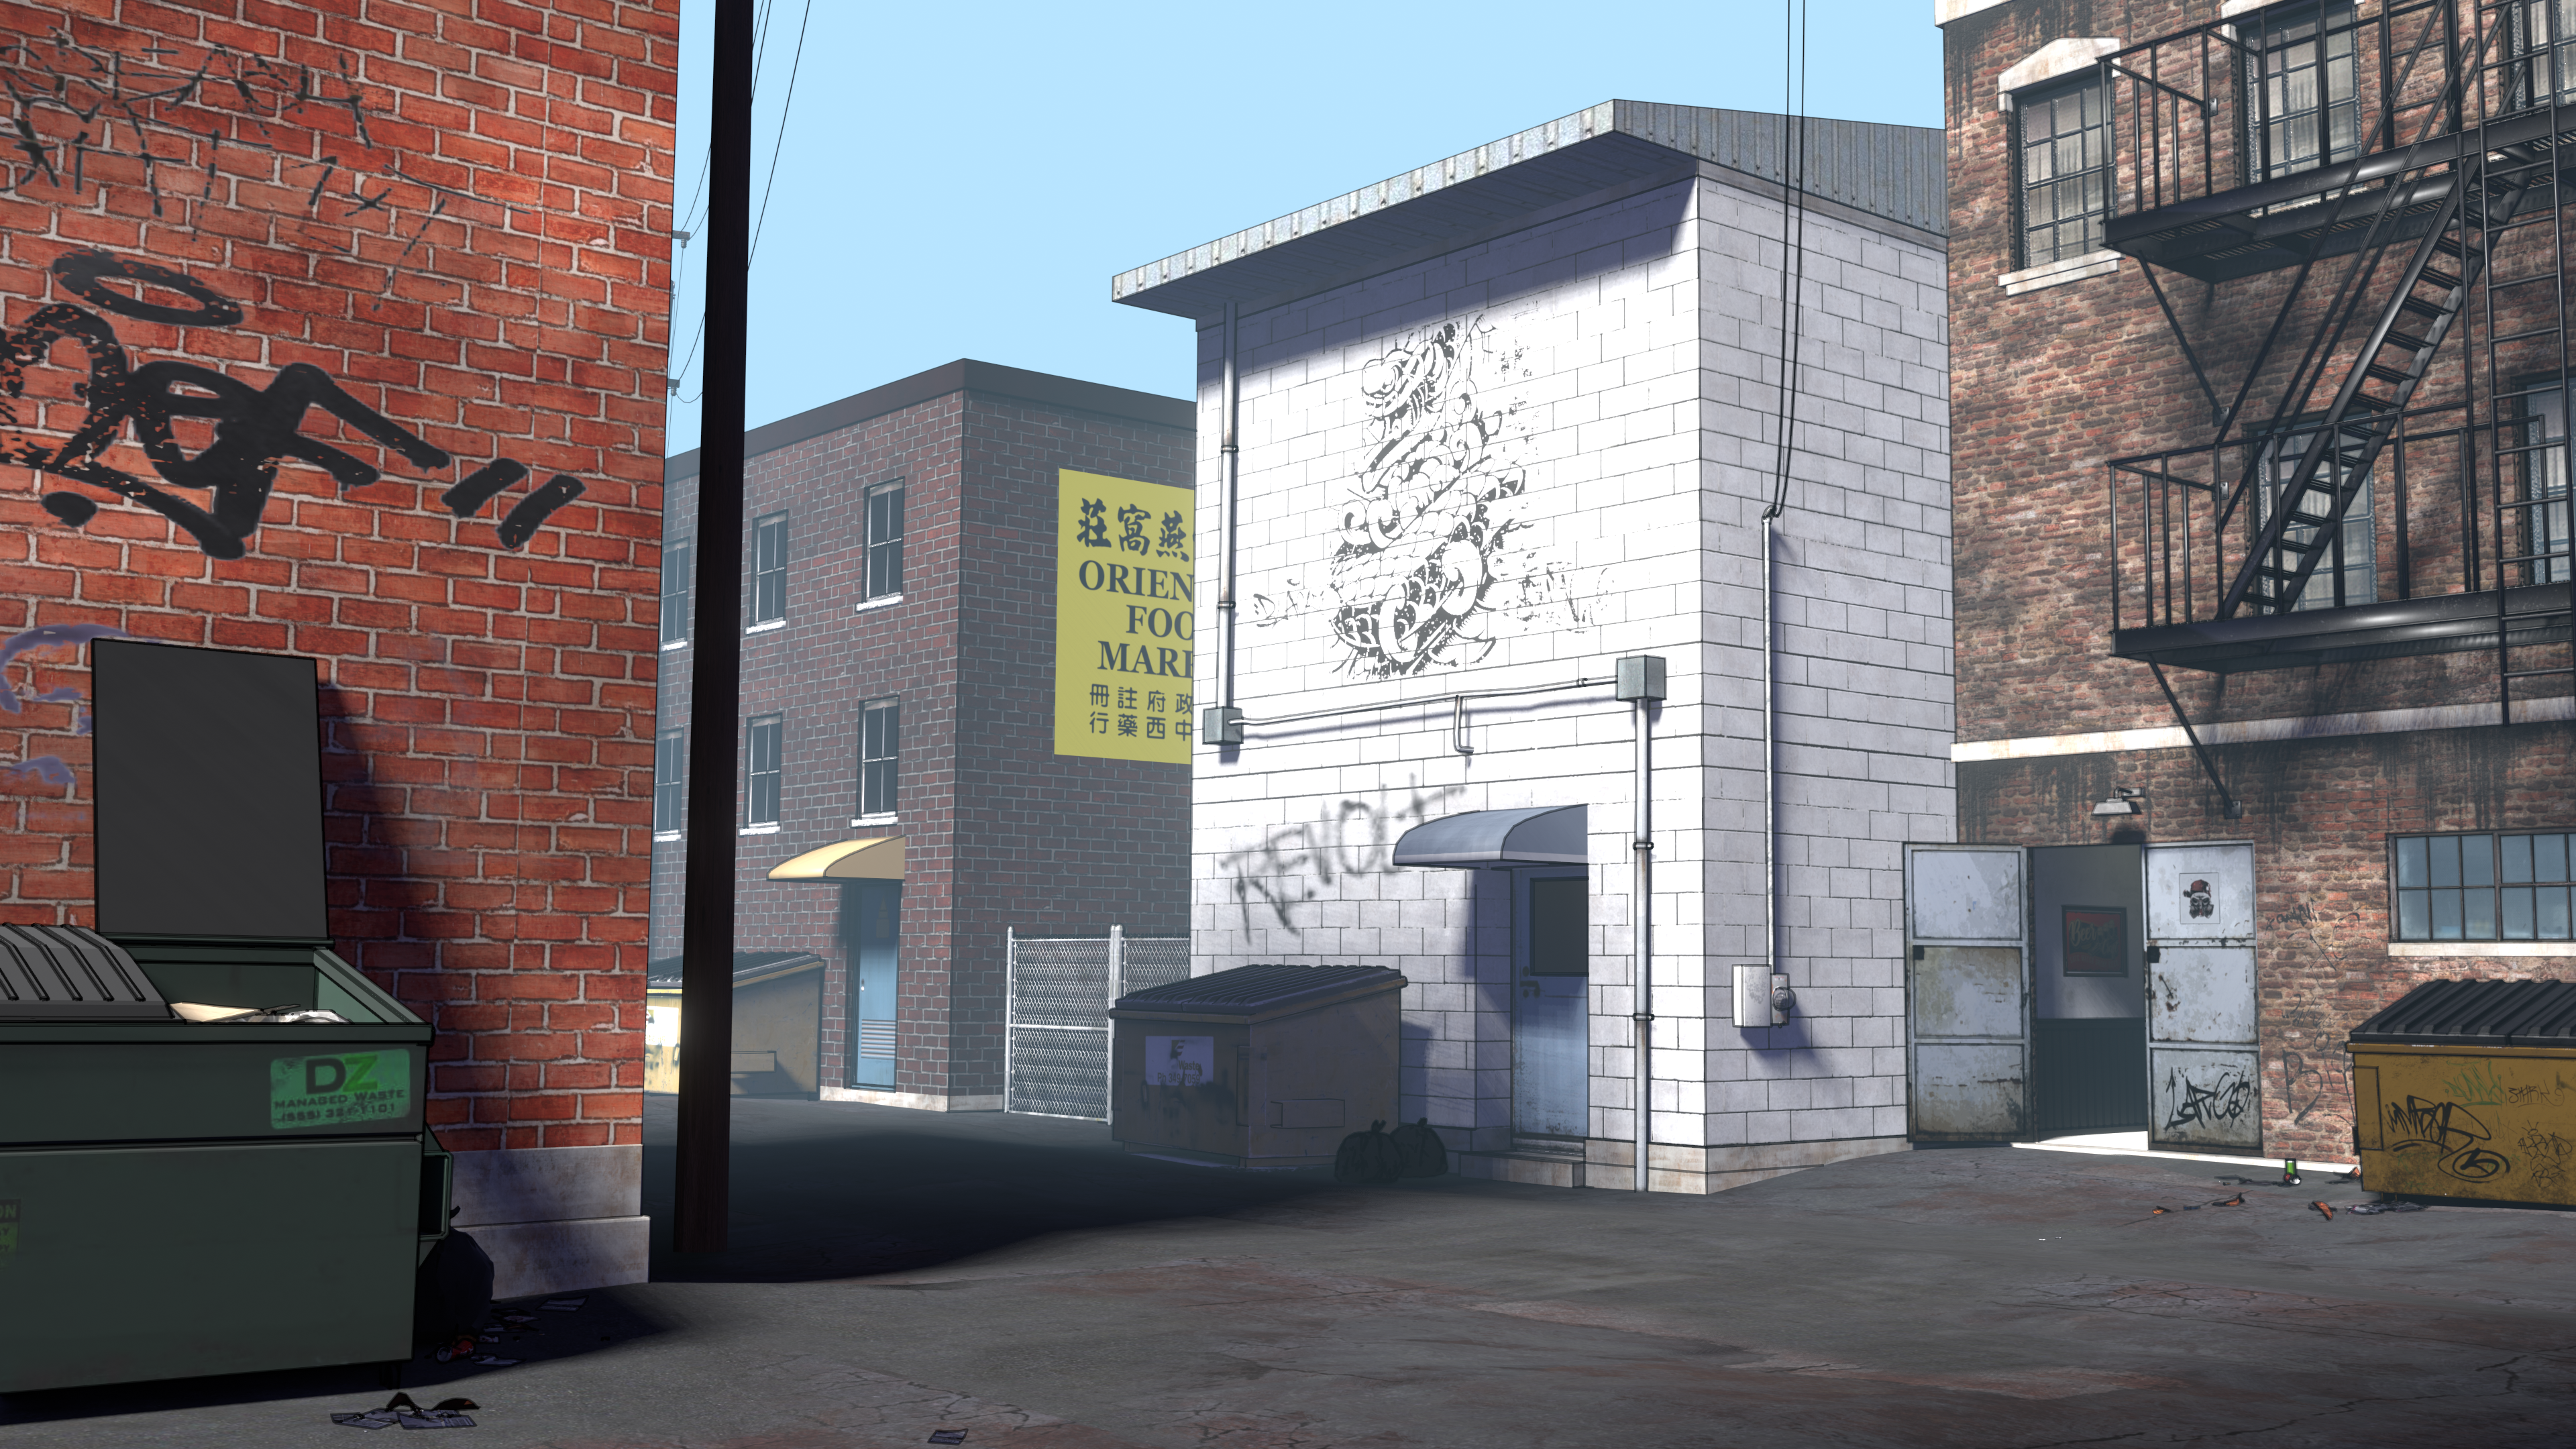
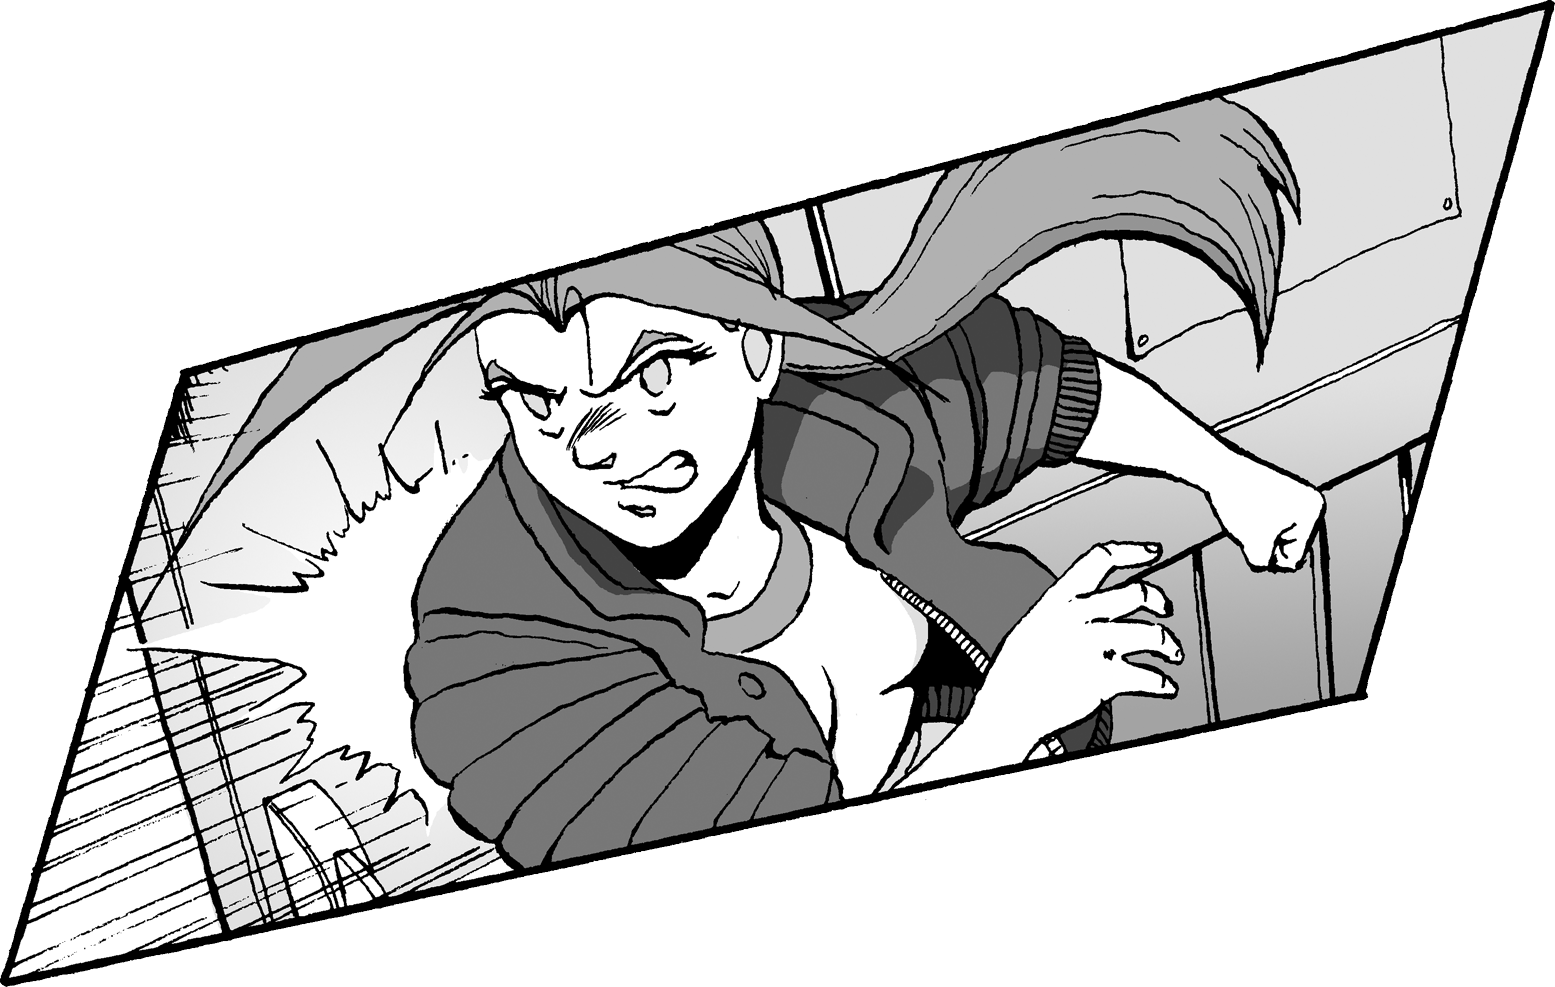
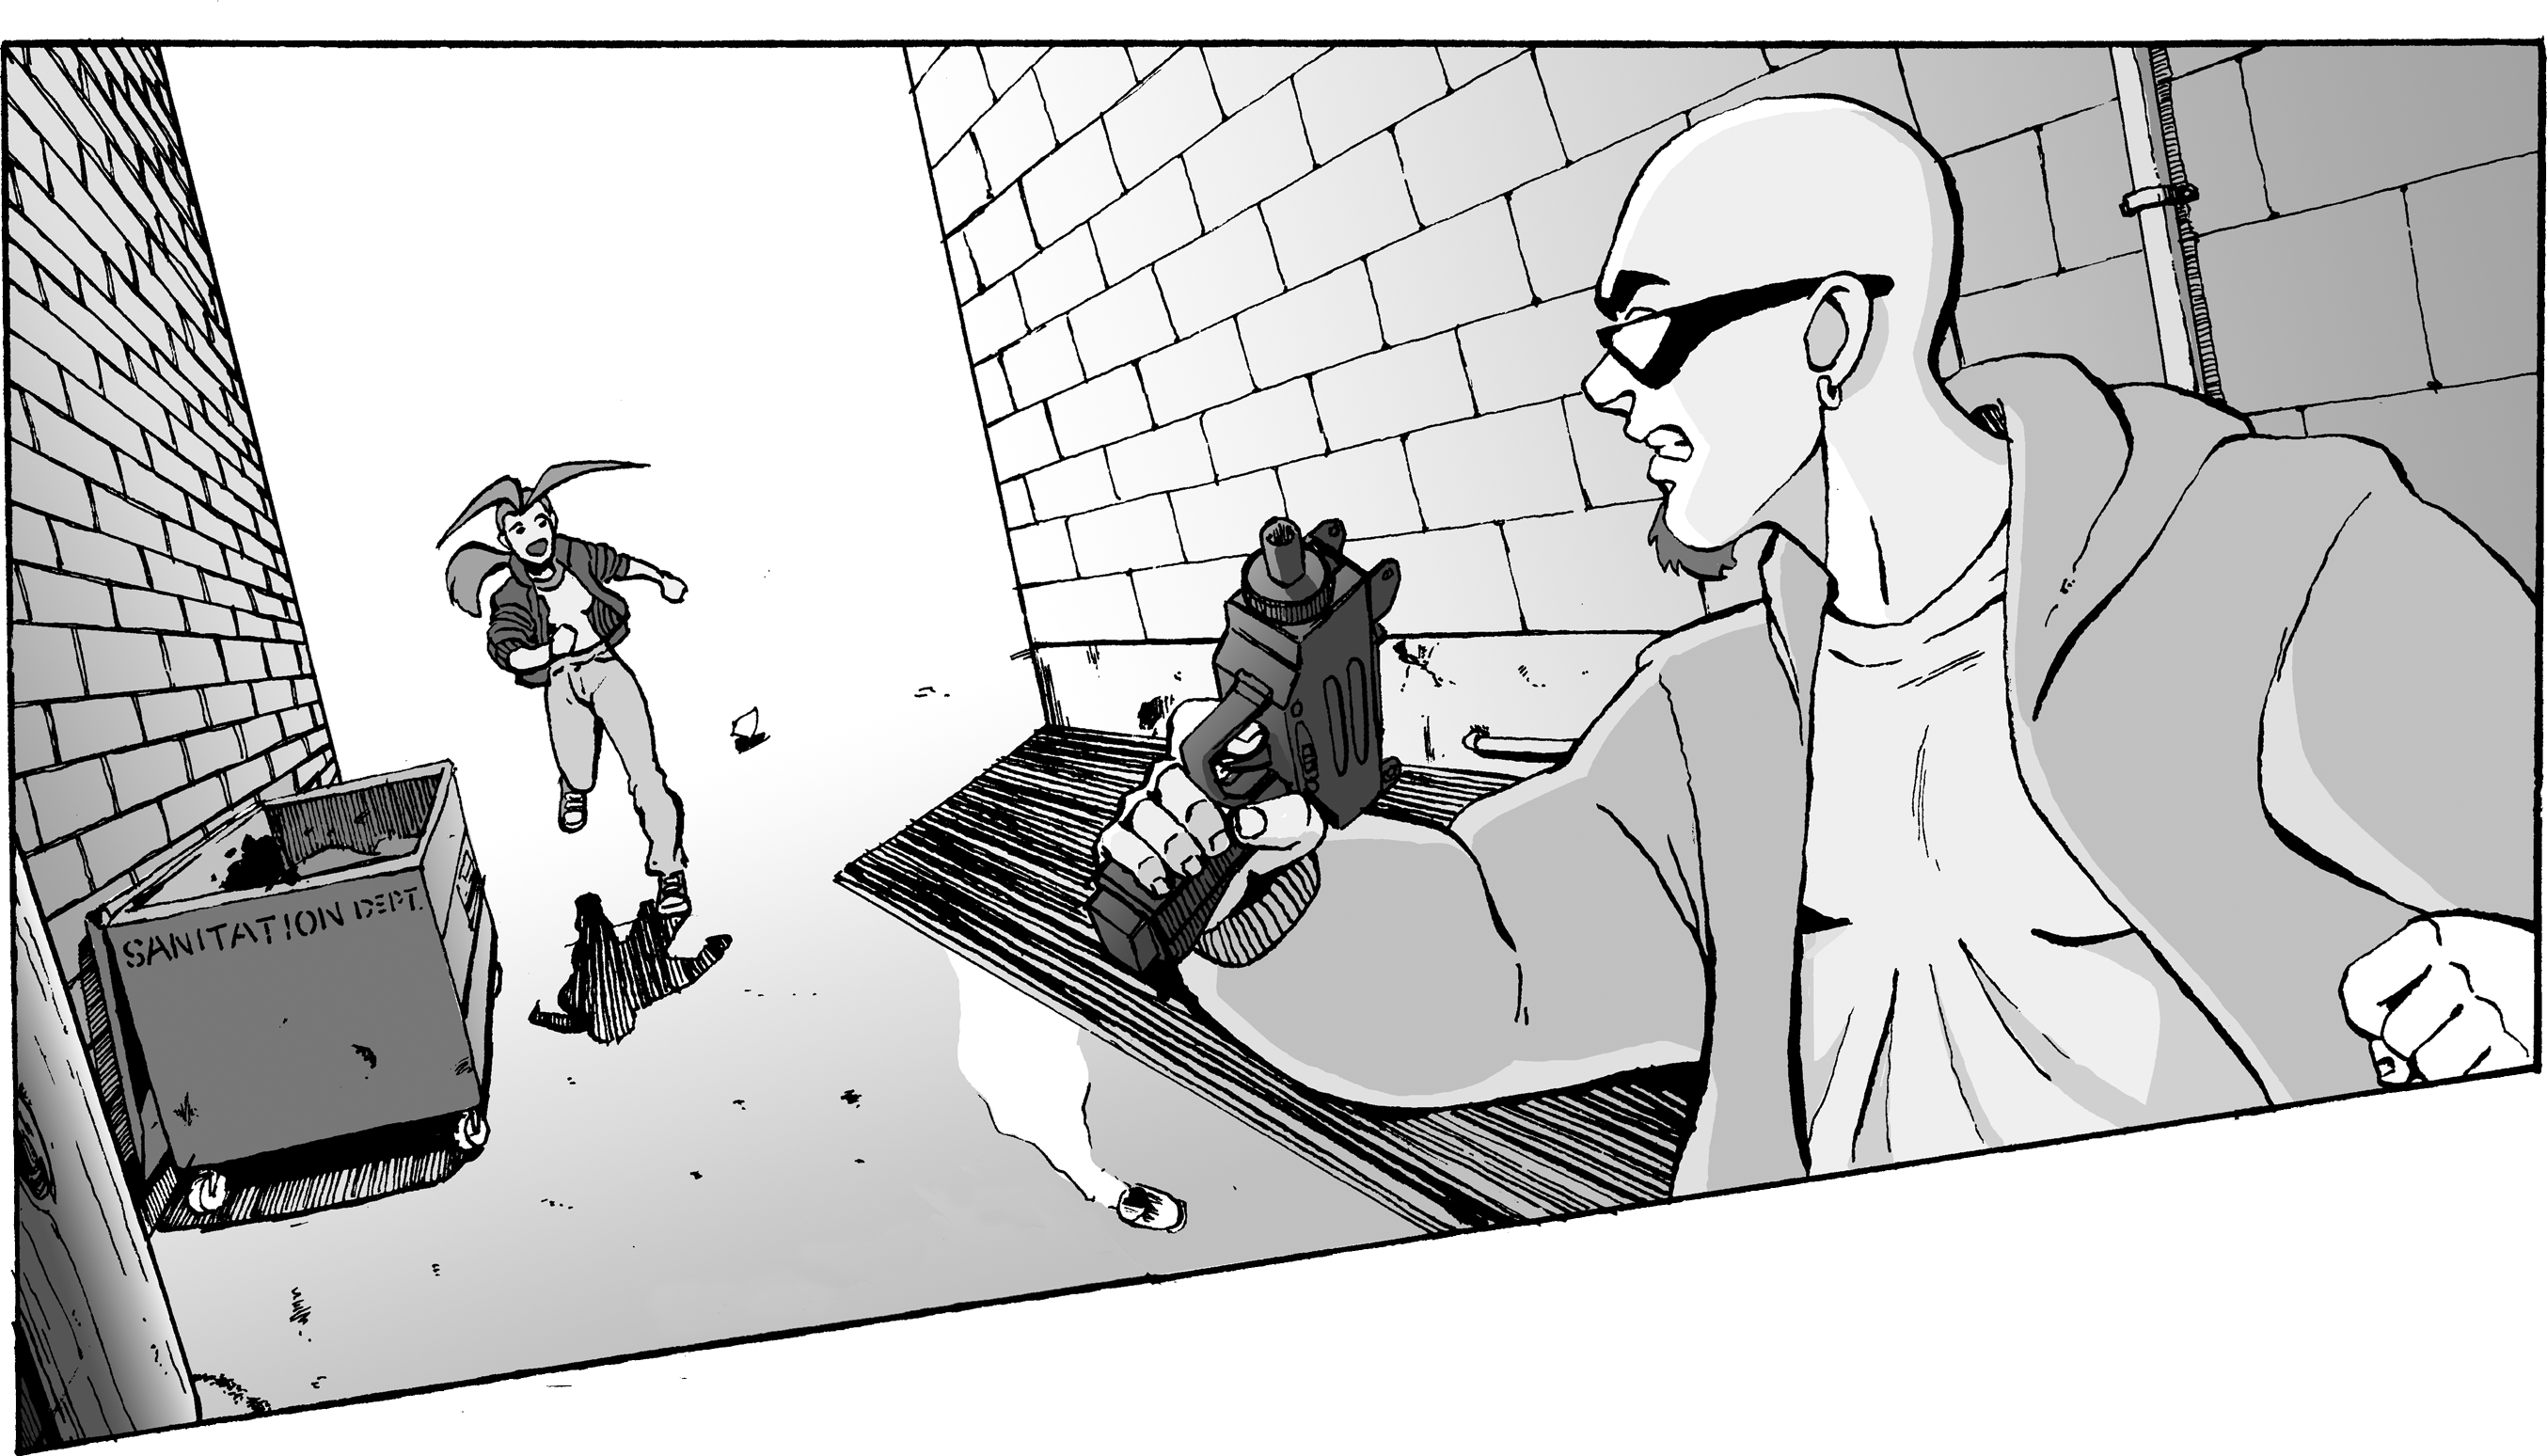
Original scene from the comic used as a storyboard.Scene modeled and animated in Blender.Rendered alley background layer (minus characters and shadows.)
The basic process is first, all the characters, props, and sets need to be modeled and prepared in Blender. Once the assets for a given scene are complete (or mostly complete), I can bring everything into a scene file and start setting up the shots by moving the characters and cameras around. Once I’m happy with the basic timing, then I split off all the shots into their own files and do the actual animation. After all the animation for the shots are complete, I fire up the GPU and light the scene with a live preview, take care of any effects for the scene, and use Blender’s Grease Pencil to create the outlines to give it a more hand-drawn feel. Then all the layers for the shot are rendered out—backgrounds, characters, and effects. Then we move over to After Effects, where the finishing work for the shots happen. All the layers get brought in and stacked, kind of like Photoshop. I can then tweak the lighting, shadows and put in any extra 2D effects to give it a polished feel.
Here are some more comparisons between the comic and the film:
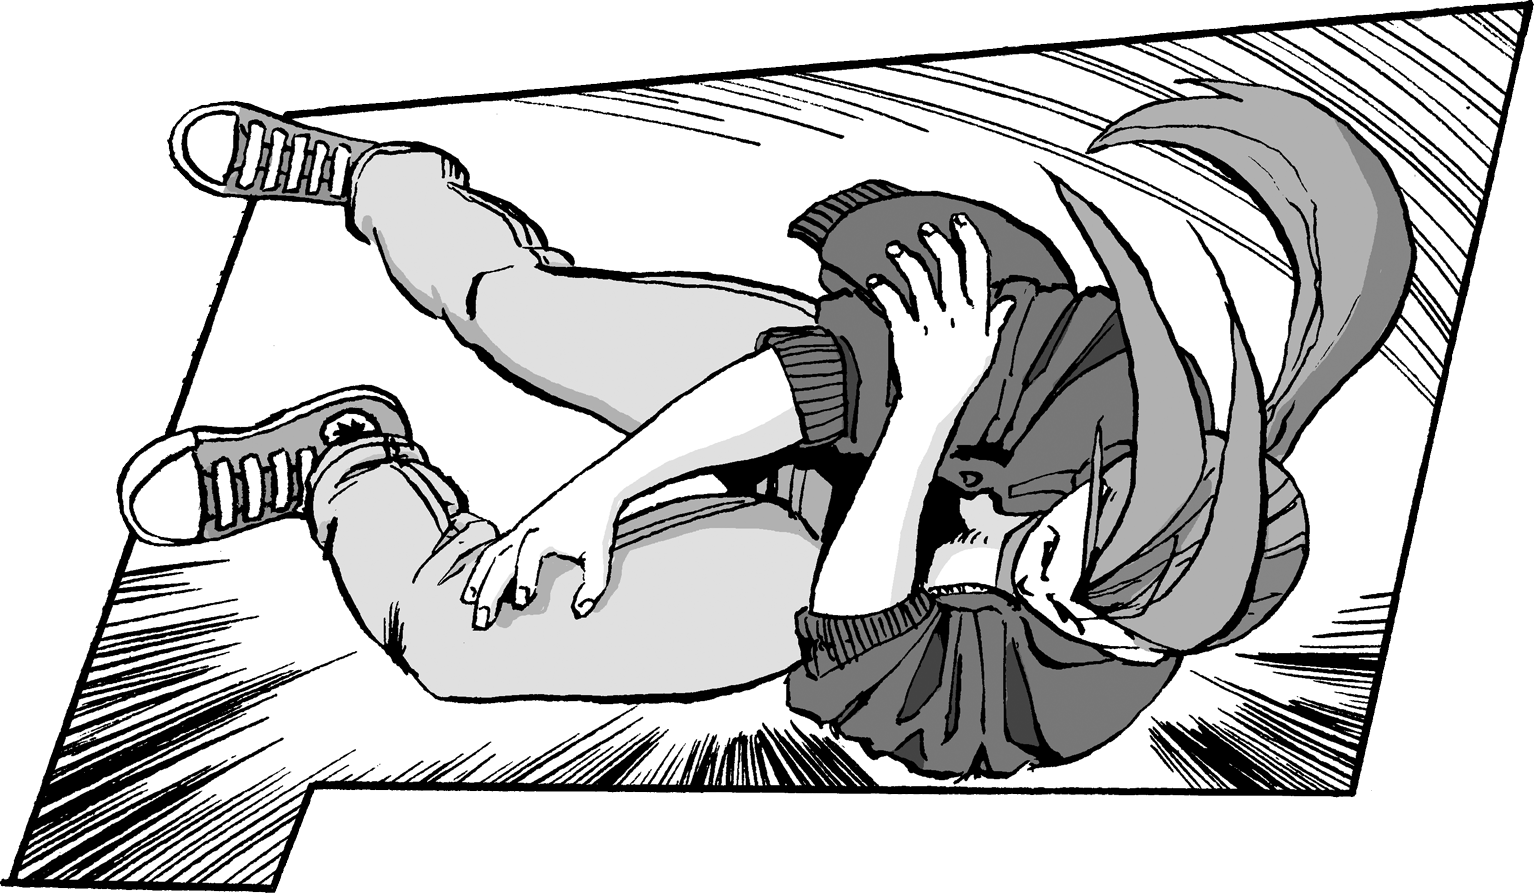
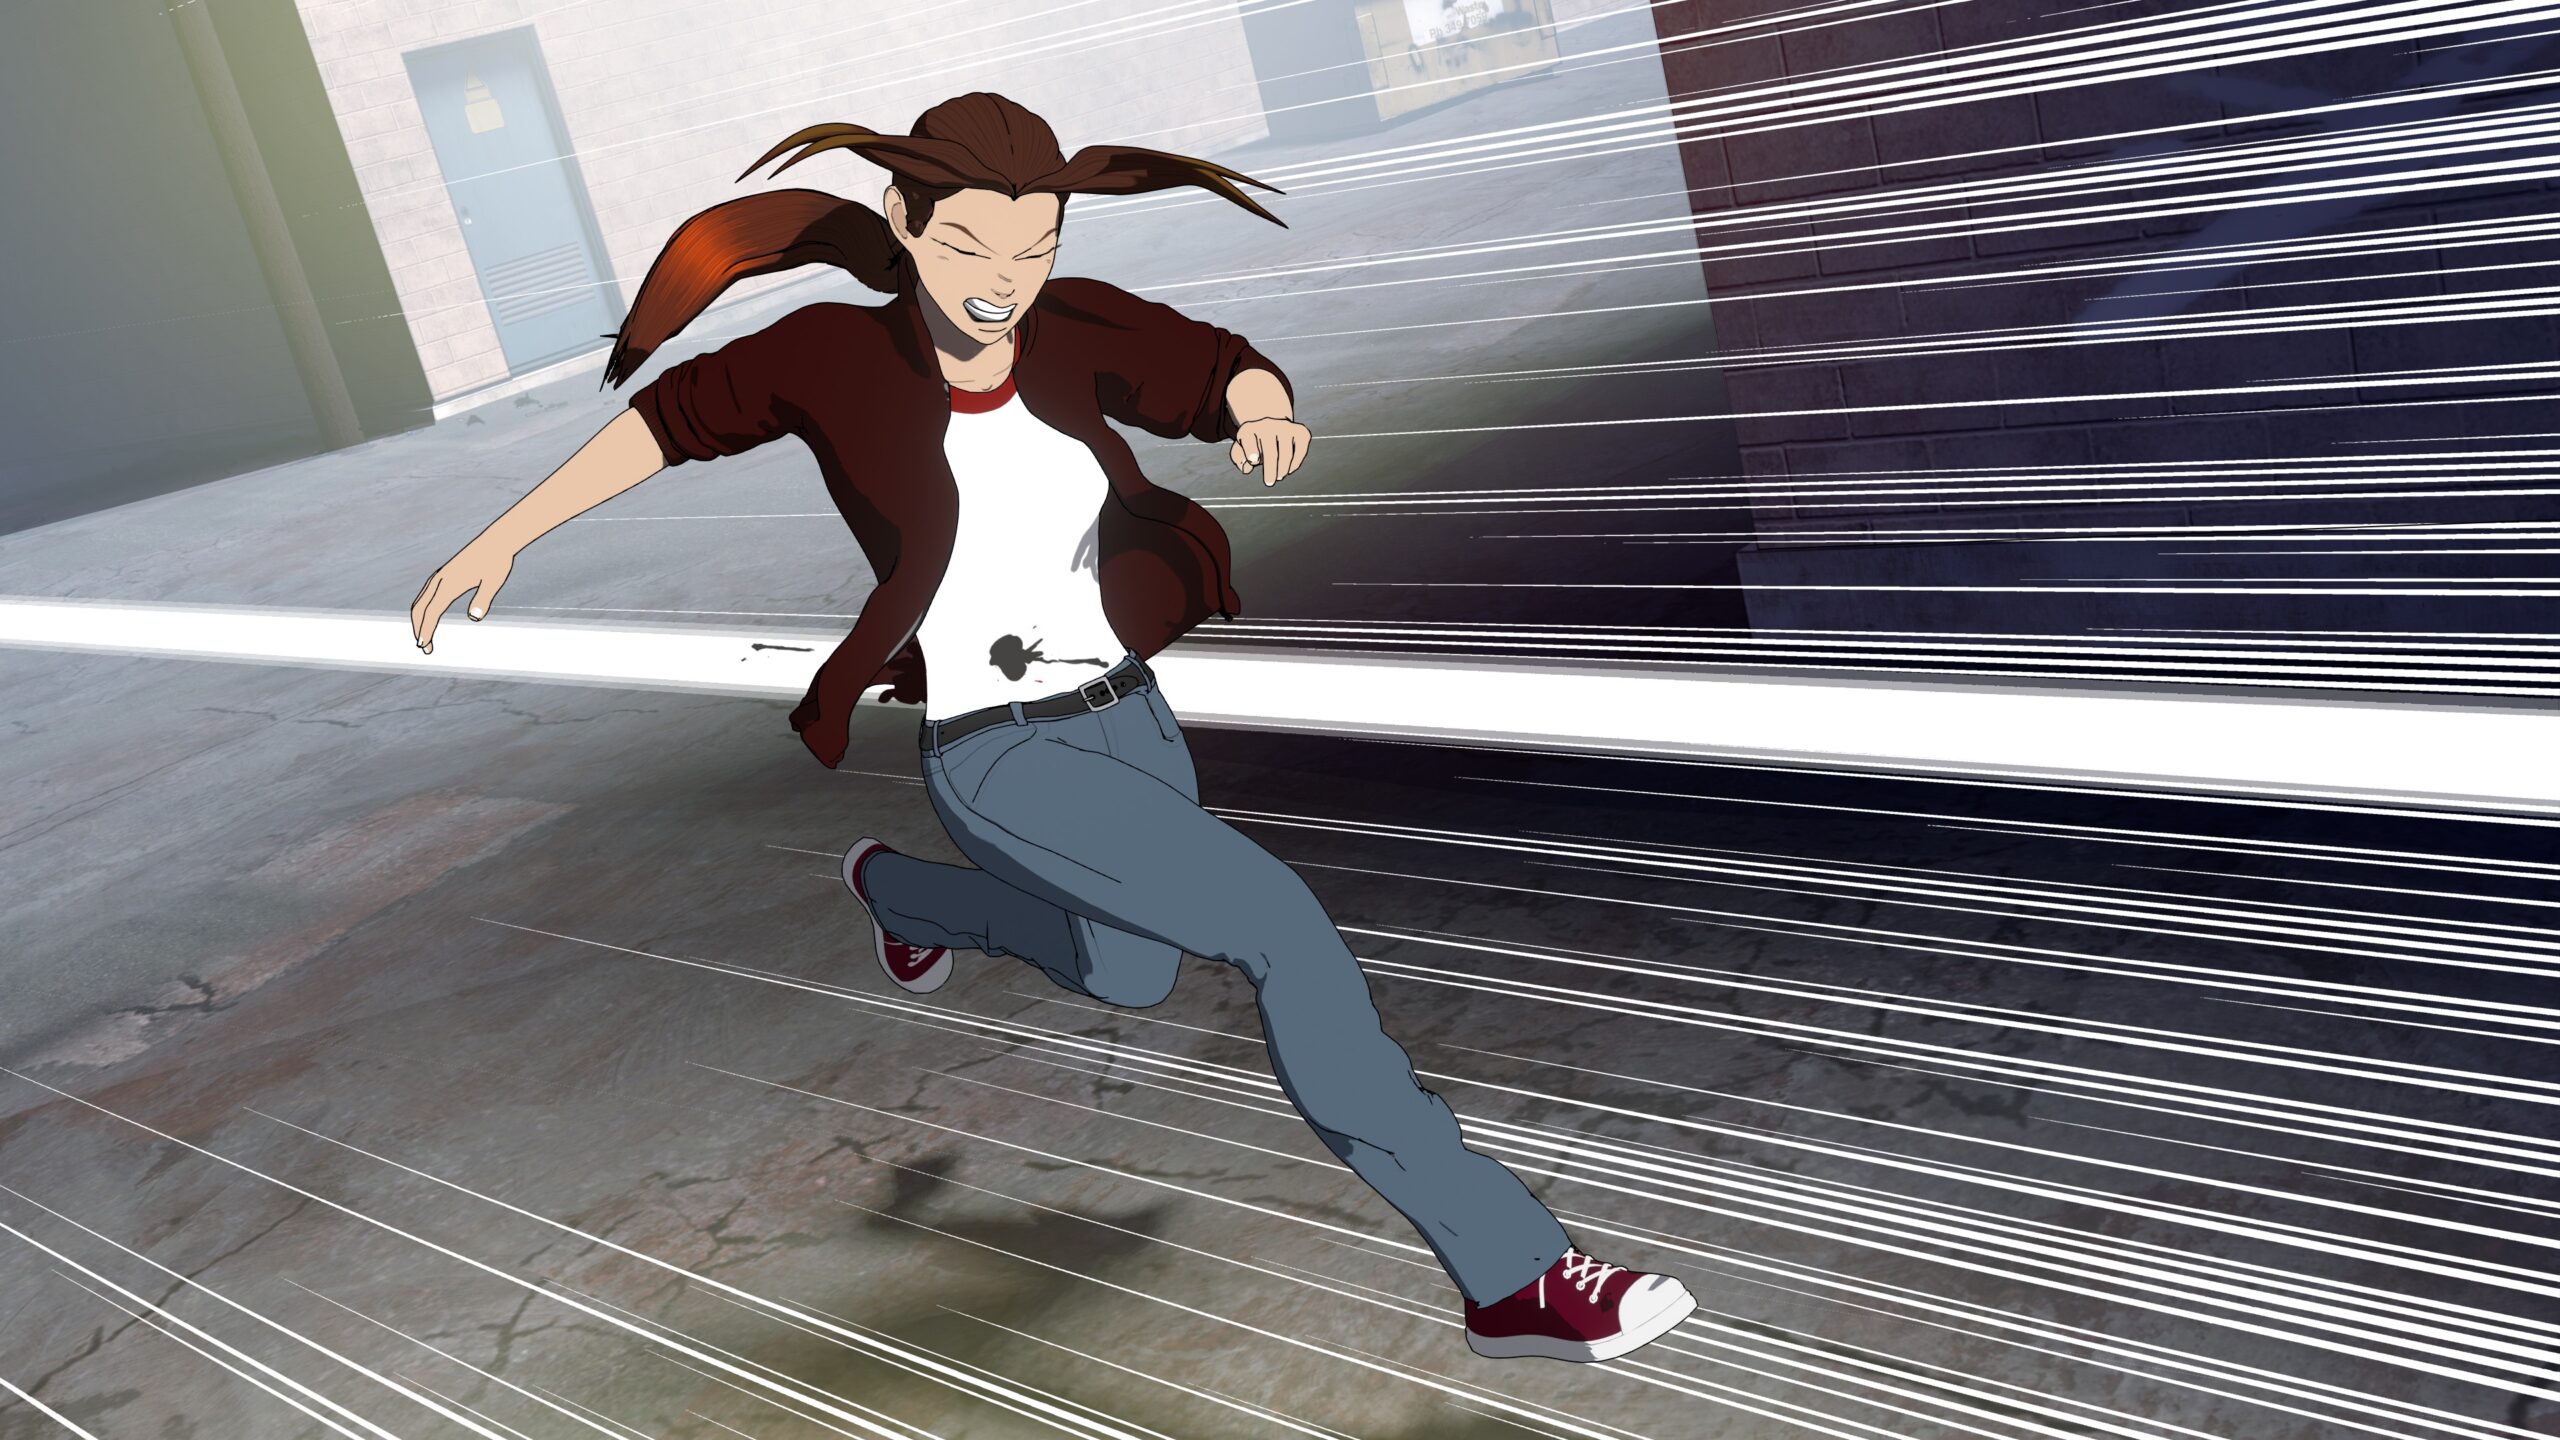
Animating this took a fair amount of planning. The blue lines that flash in and out are guides I drew into the frame (from the side) to help time Kate and Chow’s run cycles. That way heir feet landed it the right place on the ground, and they’d end up in the right places on camera.I remember having the hardest time figuring out how to draw Kate falling after getting hit. I was never really satisfied with this panel, but went with it…But when it came time to animate, it turned out to be a great starting point! Animating this was incredibly fun.After realizing the test animation felt too slow, I spend it up for the final. The end result felt really satisfying!
So, we’ll be giving you weekly behind the scenes updates on the film project as we proceed (with a few extra goodies for subscribers and backers, of course!)
I’ve started work on a new PARADIGM SHIFT animated short!
Hey, everyone! It’s been pretty quiet on the PARADIGM SHIFT front since Restless Sleep came out last year. If you caught my last note, you’ll know it’s because I was hired to create a couple of animated pieces for the Storiaverse App. But that doesn’t mean I’ve forgotten about Kate & Mike. Oh, no.
Over the last year, I’ve been laying the groundwork for a new, more ambitious project: PARADIGM SHIFT – Chinatown, which will bring the pivotal scene where Kate’s werewolf powers manifest to life in full-color animated glory!
And this month I crossed a major milestone—finishing the teaser trailer! Here’s a sneak peek:
Bigger is better!
PARADIGM SHIFT—Chinatown will by far the biggest, most complex animated project I’ve taken on to date. It will have it all—kung fu fights, chase scenes, a beautiful Chicago setting, a brand new soundtrack, and best of all—a full voice cast!
However, while I tackled Restless Sleep almost entirely on my own (with the exception of sound effects and a bit of assistance from some helpful interns), this time I’m assembling an actual team to help make this project a reality. Joining me will be:
Sound Designer Alexander Danner, who helped me finish Restless Sleep
A casting director who will find and direct our voice talent.
A production assistant and social media manager to help me stay organized and in better communication during the project.
Plus a couple of talented young freelancers who are helping me build 3D characters and sets in Blender, and help with compositing and finishing the animation.
We’ll be launching a Kickstarter to help fund the project later this fall. Stay tuned for details in the coming weeks as we rev things up. I can’t wait to share it all with you!
I had the idea for this animated werewolf transformation sequence way back while I was still working on PS Part Two: Agitation. I’d been dreaming about making an animated trailer for the series, and I knew this would be the thing that would cap it off. However, I had no practical way to try to do it, but it did serve as the inspiration for the cover for Part Three: Emergence. Later on, I also made a hand-painted version that ended up being the cover to the Volume 1 collection.
Why did I call the new filmRestless Sleep? As I’ve mentioned, I’ve wanted to animate Paradigm Shift for a very long time. A lot of this hinged around Kate’s fateful transformation into a werewolf.
The title of the new film—Restless Sleep—actually comes from a drawing in my sketchbook that I did way back in 2002. I imagined her tossing and turning in her sleep in the lead-up to transforming for the first time. You can see it right there in the upper left hand corner.
However, with the completion of Equilibrium and the launch of ModernTales.com, I got wrapped up with working on continuing the story instead of focusing on this side project. And so “Restless Sleep” got put in the drawer, and only existed as a series of pages in my sketchbook for 20 years.
Early transformation sketches from 2001 – Page 01
Early transformation sketches from 2001 – Page 02
Early transformation sketches from 2001 – Page 03
So, when I started playing with 3D last year, knowing that I wanted to animate Kate’s metamorphosis, this story immediately sprang to mind. The project started with a smaller scope—just animate the transformation and her going out the window into the night. And set it all to some music. But obviously I got a bit more ambitious, and it turned into the final film you see today!