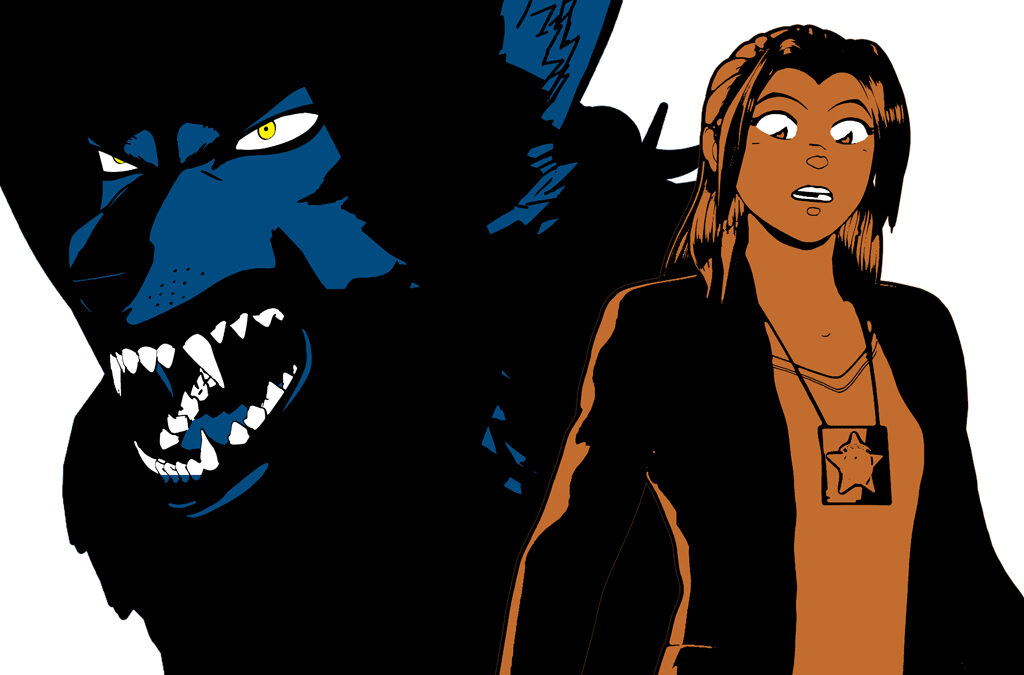
Based on the cult werewolf detective comic seriesPARADIGM SHIFT, classic werewolf tale meets paranormal mystery in this new animated short!
Detective Kate McAllister is in for a rough night. While investigating a strange murder, she discovers she has a connection to the killer that is stronger than she could possibly imagine!
PARADIGM SHIFT—Restless Sleep is my first animated film. It as was created in Blender with characters rigged using DAZ Studio’s Genesis 8 platform. Composited in Adobe After Effects and edited in Adobe Premiere. I also composed and performed the music using Apple’s Logic Pro. The whole project took me just over a year to complete.
Here’s a quick peek at what it’s like to work on this project inside of Blender3D.
One of the things that made Restless Sleep possible was the ability to preview the final look in real time, thanks to Blender’s EEVEE engine (and some beefy GPU hardware.) This minimized the amount of time I needed to spend creating test renders and allowed me to make artistic decisions on the fly.
Animating Kate herself involved something called a character “rig” or “armature”. This was the most time-consuming thing to create in the entire project, since it had to transform into her werewolf form. It consists of several different parts, starting with the 3D objects or “meshes” that create the basic shape of the character. In Kate’s case, she’s made up of five basic objects: her body (the most complex and detailed of all the meshes), her hair, her upper and lower teeth (which are separate objects for reasons), her eyelashes (also separate for reasons). There are clothing objects as well which change from scene to scene.
Next, is an object made up of what are called “bones”. These are the literal controllers that move the objects. Each bone corresponds to some of the polygons that make up each object’s mesh, and therefore allow the character to be posed and moved around. Luckily this process was mostly automated for me, since I used the Genesis 8 character base from DAZ Studio.
All I had to do was modify the existing model to match Kate’s character design. However, for the hair, I was on my own. I learned how to “rig” with her hair.
First, I created a chain of bones for each section of her hair I wanted to animate—bangs, front, back, left, right and center.
Next, I had to “weight paint” the mesh so each bone would affect a specific part of the hair. Below is an example of the “heat map” of part of her bangs that corresponds to the bone directly underneath it. The blue represents area where the bone has no effect at all, with colors transitioning from green to yellow to red for areas where the bone has the most effect. While this can be done automatically, I ended up “painting” each strand by hand to get the smoothest results when her hair moves.
Lastly, I set up “IK chains” for each strand of hair, so I could control them by moving a target object around. “IK” stands for “Inverse Kinematics”, which is the method 3D programs use to move bones so they rotate as a group to point to a specific target. The round balls in the rig are the targets for each part of the hair. Here’s how it looks in practice
The final step is textures! Since I want to mimic the look of classic hand-drawn animation, that meant two things: cel shading and outlines. I achieved the first through tweaking the materials. Mainly, I tell Blender to do a hard cutoff between the light and dark areas of the figure, which creates the “cel-shaded” look. The shadows are then applied in a way that darkens the image map on the figure, in this case using a dark blue, which matches the shadow color in the rest of the set. Unfortunately, I had to set this manually for every new scene if the shadow colors change. For instance, the shadows in the night scenes are a deep blue, while those in the daylight shots are different. I had to implement this for every material on every object I wanted to be cel shaded. Kate’s body alone has over a dozen materials, but most of the other objects only have one or two. Thankfully, once I had one I liked, I could just copy and paste the settings into the others.
The second thing that needed to happen to perfect the look was the outlines. There are two ways to achieve this in Blender. The first one I used is called “Freestyle”, which draws outlines over the model during the rendering process. It achieves a nice, consistent look, but the downside is it’s very slow, taking sometimes over 5 minutes per frame to calculate. However, since it could only use one processor core at a time, it meant I could do other things on my computer while it rendered in the background. I rendered about half of the film using Freestyle.
The second method involves using a 3D object called “Grease Pencil” which actually creates a the outlines as an object in front of the camera when paired with a modifier called “Line Art”. Grease Pencil lines also have a number of significant advantages. First, they render very quickly. Second, they can calculate were objects intersect and draw line there. Third, they can be previewed right in the Blender workspace. The only real downside is that they have to be “baked” or pre-calculated into the scene before you can render them as a separate output layer (to be composited later), so there a few hoops you have to jump through before the scene is ready to render. Also, I didn’t discover how to use them until I was over halfway through the film, so in order to use it, I had to rework the scene, which was okay since I ended up doing that for a good chunk of the film anyway. The only other downside was that the Grease Pencils engine treated the eyes and eyelashes differently than Freestyle, so they required more touchup in the compositing stage, which was also a little annoying. But overall they were definitely worth the trouble!
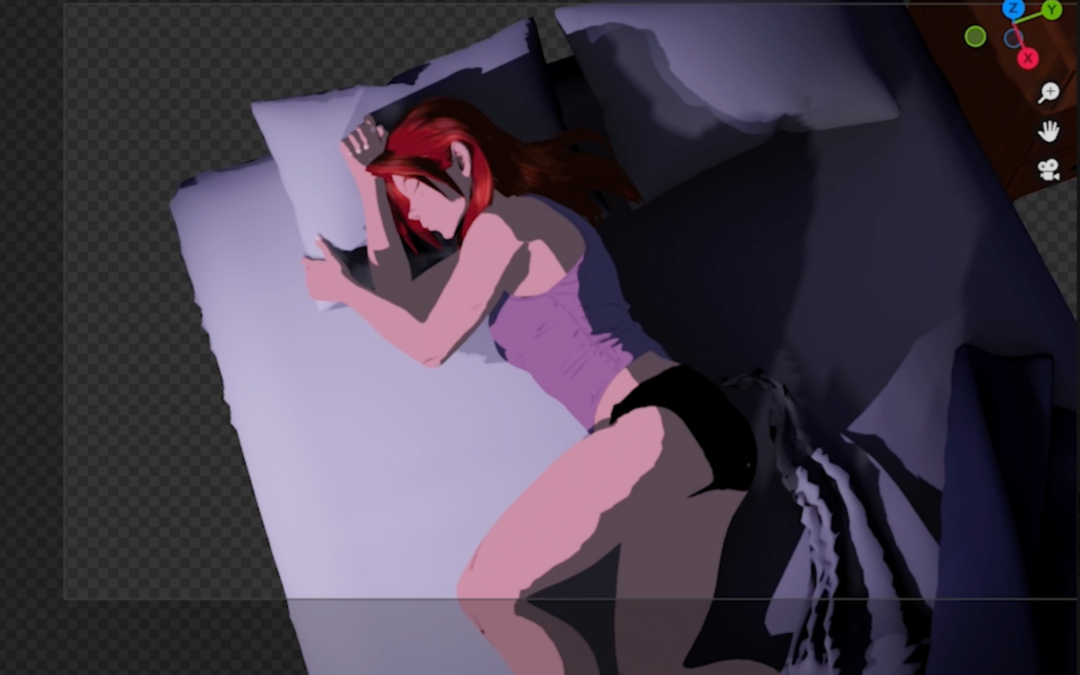
Once Kate was fully set up, I could begin animating her! After creating the test transformations, I created a test scene to see how I could integrate her into an actual 3D set and animate her in a way that would be convincing, if not realistic. I chose a set I had originally created in SketchUp for the comic—her bedroom. After importing the objects into Blender, I fleshed out the room to match the comic a little more closely, including learning how to create cloth simulations to create the drapes, pillows, and sheets on bed. Here’s a quick look at the finished set:
And here’s what it looks like when the lights go off (or rather “on” since this was the actual lighting for the set.)
From this experiment, I learned the basics of posing and timing needed to create an animation. I also learned I needed to light the background and the characters separately, since the lighting that worked one didn’t always work for the other. I also figured out how to move the camera between frames so I could string several shots into a single scene. Here’s what the full test looked like:
After creating this, I knew had the tools I needed to tackle a full animated short.
I’m proud to announce that I finally have a release date for Restless Sleep! I’m hosting a local premiere at Back Beat Brewing here in Beverly, MA at 7pm EST on Tuesday June 27th!
WHAT: PARADIGM SHIFT—Restless Sleep WORLD PREMIERE!
In addition to the film showing, I’ll be doing live, behind the scenes demos on how I made the movie, along with a Q&A. I’ll also have books and prints in tow for a signing. Plus there will be excellent beer on tap! Back Beat specializes in English-style bitters and cask ales. I’m a huge fan!
Film will post to YouTube @ 7:30pm!
But if you can’t join us that night, I’ll be live-streaming the event on my YouTube channel, too. The film will drop at the same time we show it in person, and you can join in the demos and Q&A afterwards!