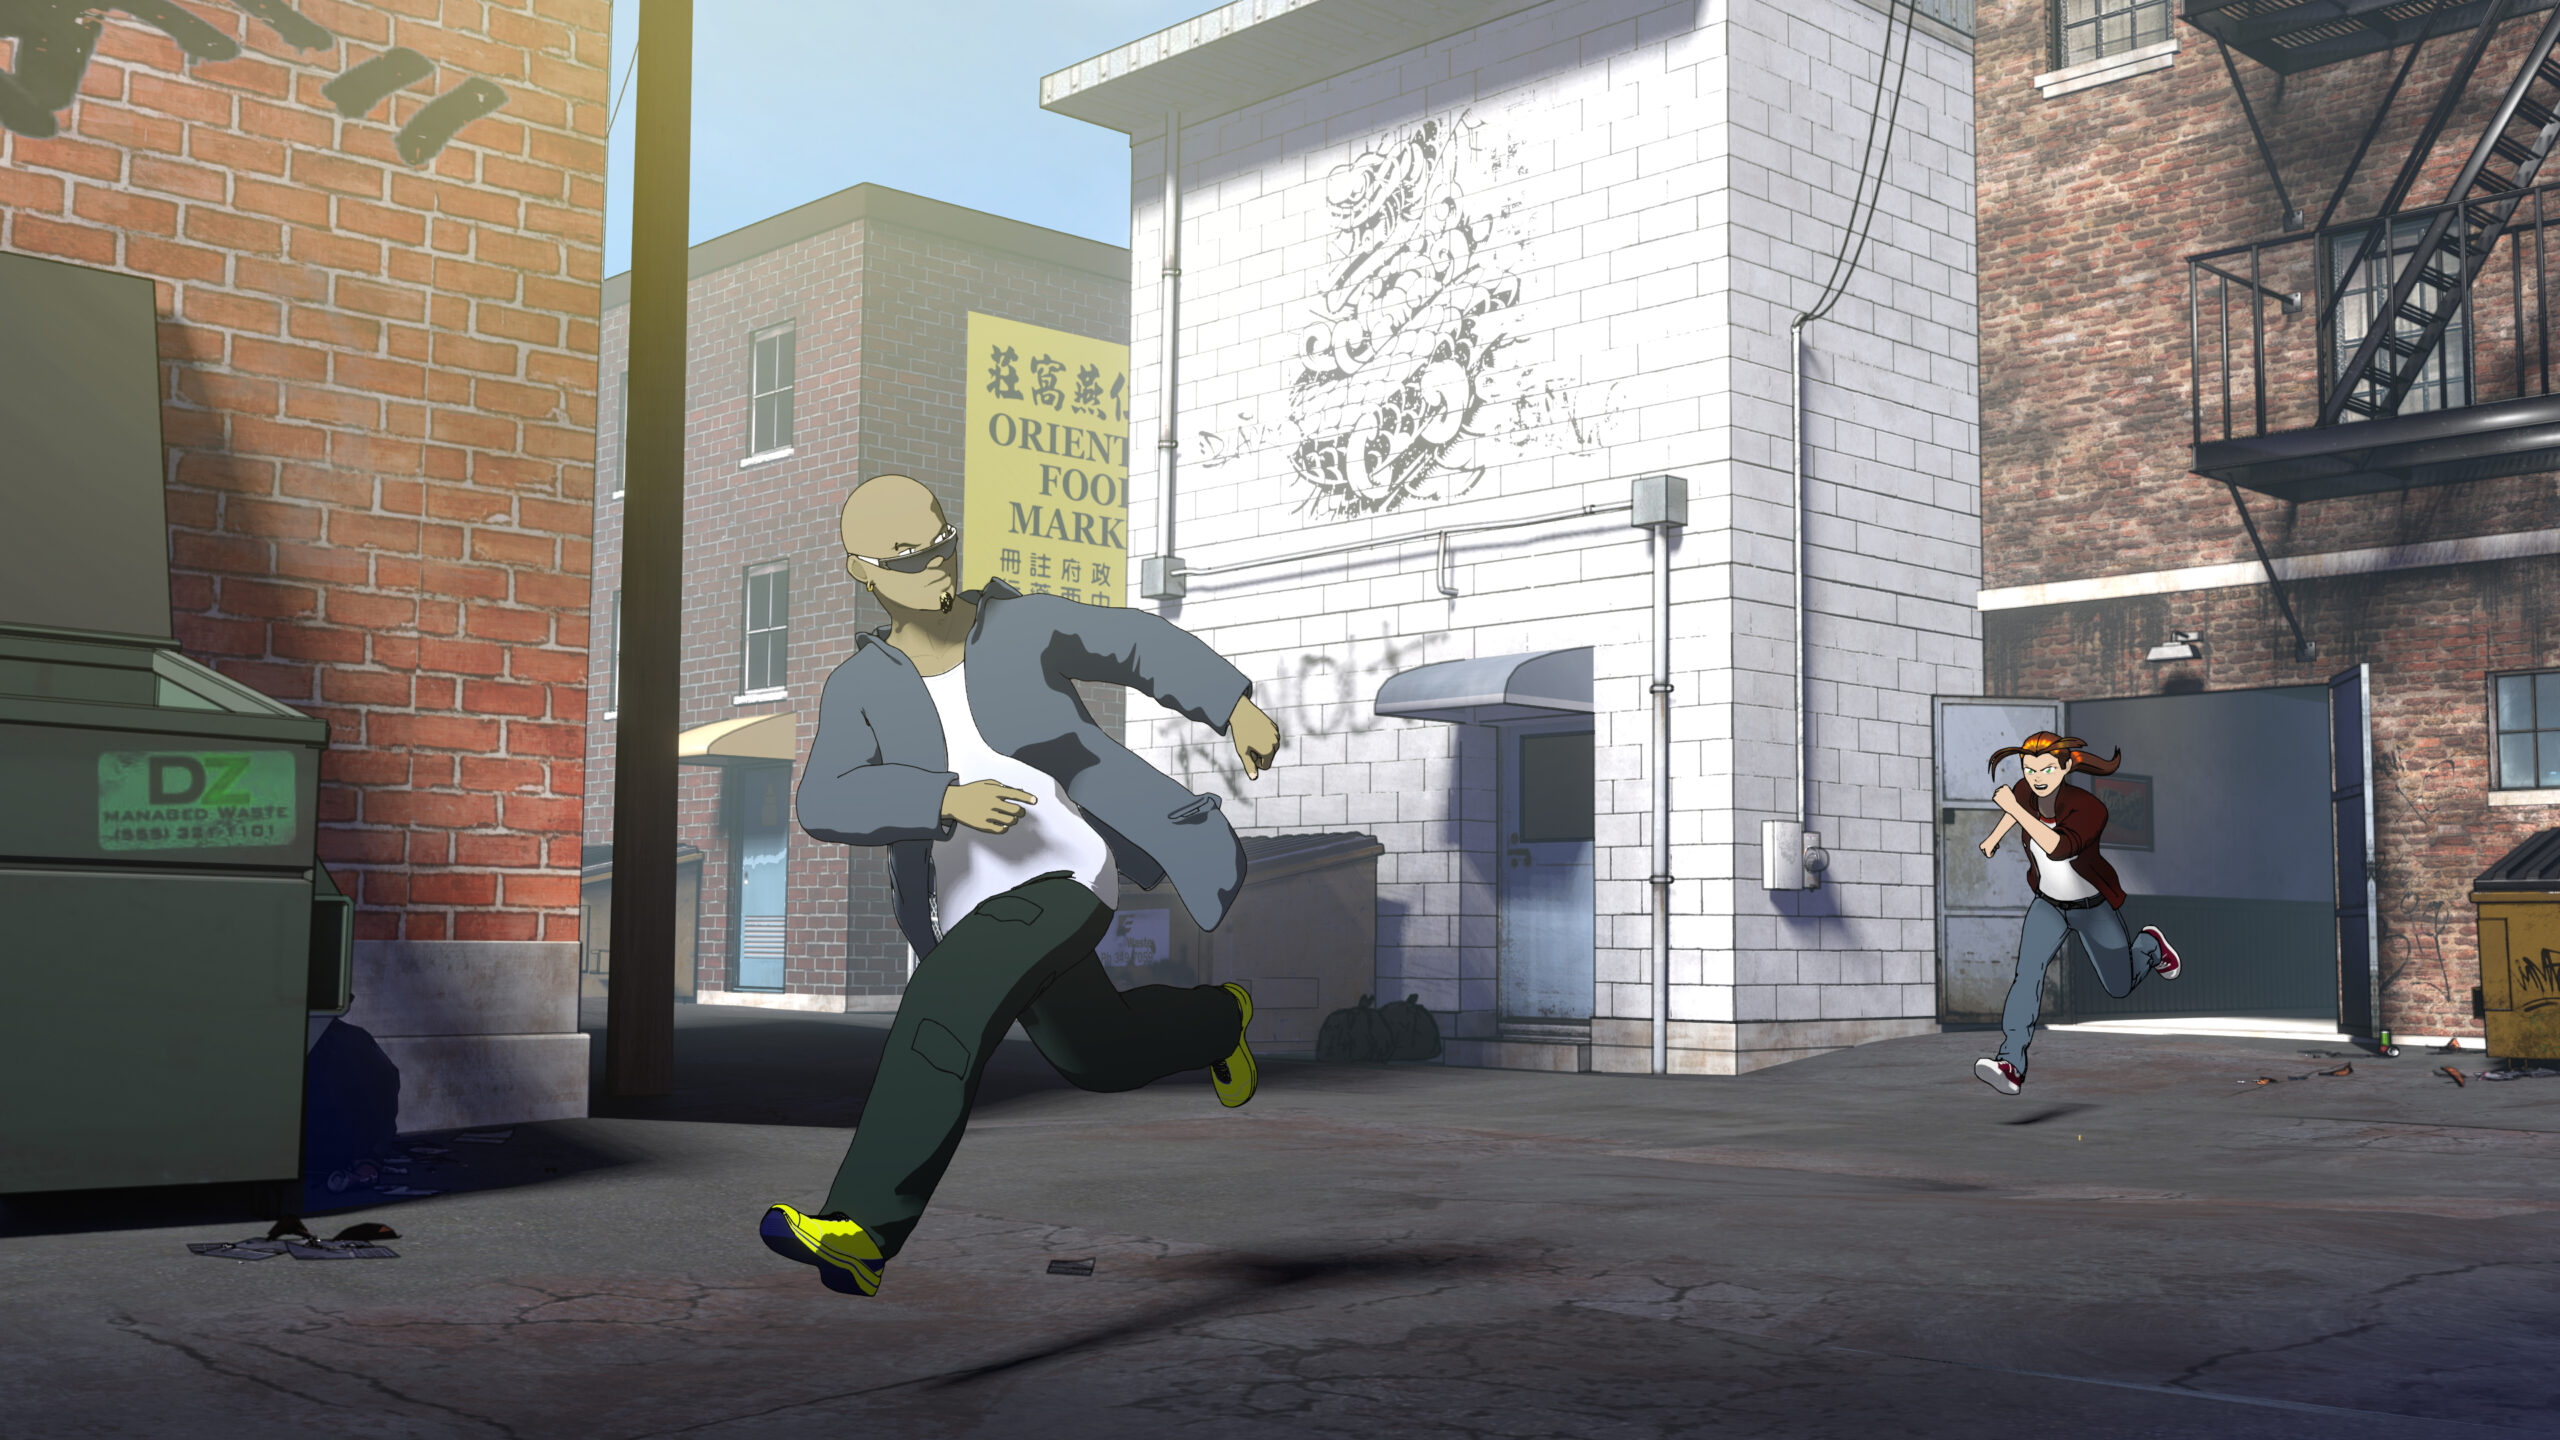
Ever since I drew the first pages of the Chinatown scene in Part One: Equilibrium, I’ve wanted to see it animated.
Back in 1999 when I first wrote the scene, I could clearly picture it playing out as an anime. Even my comic storytelling style has always been heavily influenced by movies and animation, to the point where I really felt like I was storyboarding the action I could clearly see in my mind’s eye. In Restless Sleep, I had my first taste of doing that with Kate’s werewolf transformation, but while that was a technical challenge on its own, it had fewer moving parts overall. Also, I was pretty green as an animator, and still had a lot to learn about timing and character performance.
This time I feel ready to tackle a more complete story, and , I want more action, more characters, and dialogue!
Restless Sleep was a great project to learn animation, but because it was just that—basically a student film—it was best that I did it privately in my studio. I wasn’t ready to share it until I knew it would actually be completed. Chinatown will be my fourth animated project following two major projects for the Storiaverse app—This House, and the upcoming piece, Character Assassin. And this time I’m ready to bring you into the studio while it gets made!
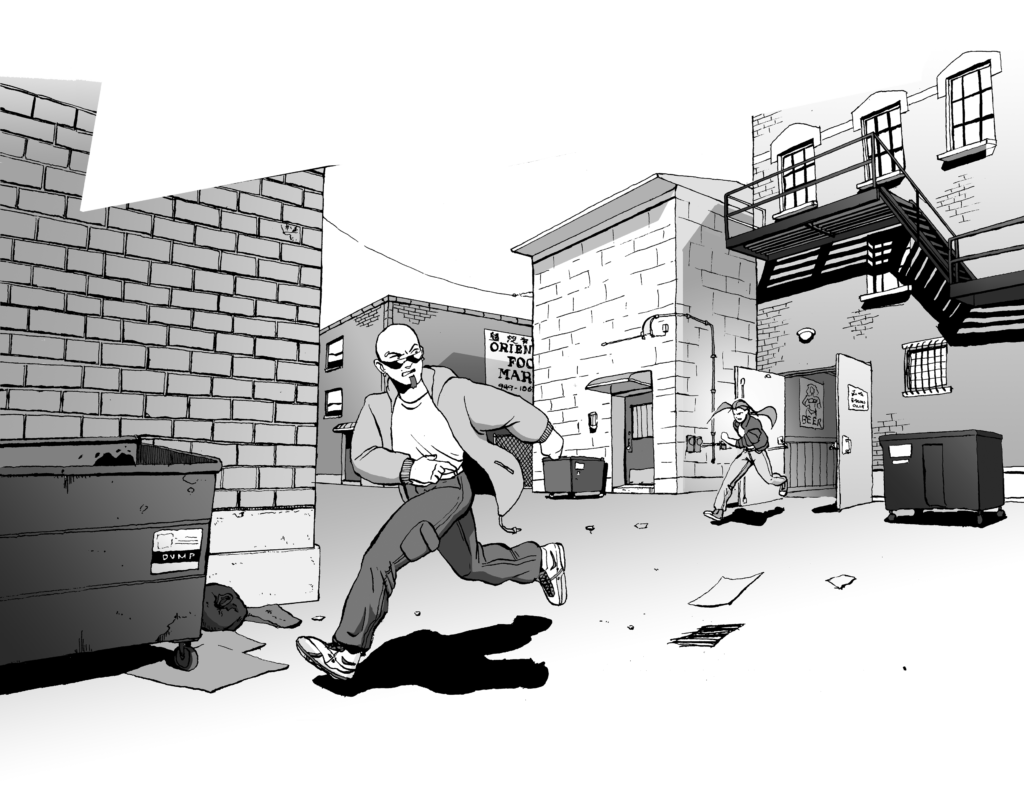
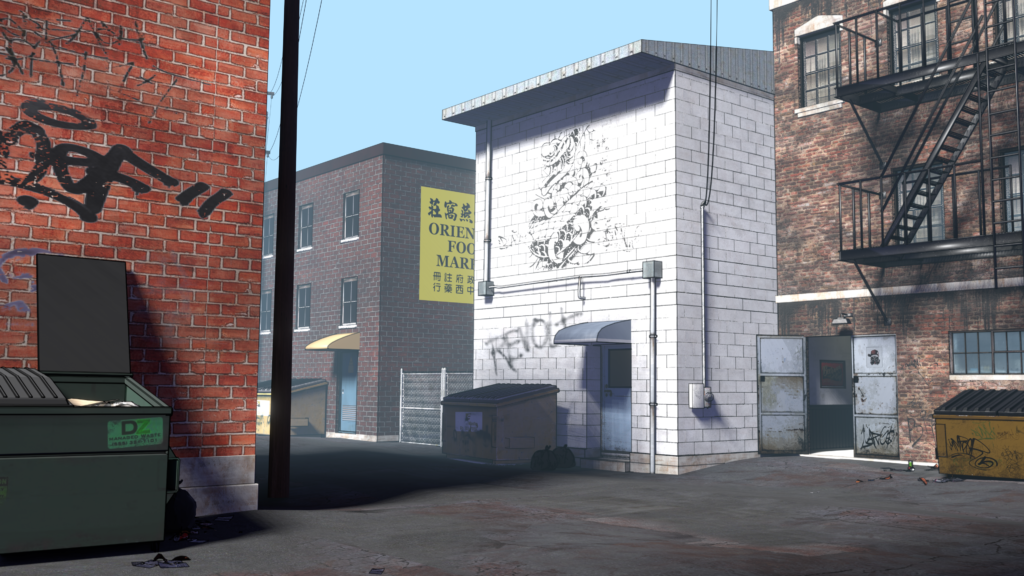
The basic process is first, all the characters, props, and sets need to be modeled and prepared in Blender. Once the assets for a given scene are complete (or mostly complete), I can bring everything into a scene file and start setting up the shots by moving the characters and cameras around. Once I’m happy with the basic timing, then I split off all the shots into their own files and do the actual animation. After all the animation for the shots are complete, I fire up the GPU and light the scene with a live preview, take care of any effects for the scene, and use Blender’s Grease Pencil to create the outlines to give it a more hand-drawn feel. Then all the layers for the shot are rendered out—backgrounds, characters, and effects. Then we move over to After Effects, where the finishing work for the shots happen. All the layers get brought in and stacked, kind of like Photoshop. I can then tweak the lighting, shadows and put in any extra 2D effects to give it a polished feel.
Here are some more comparisons between the comic and the film:
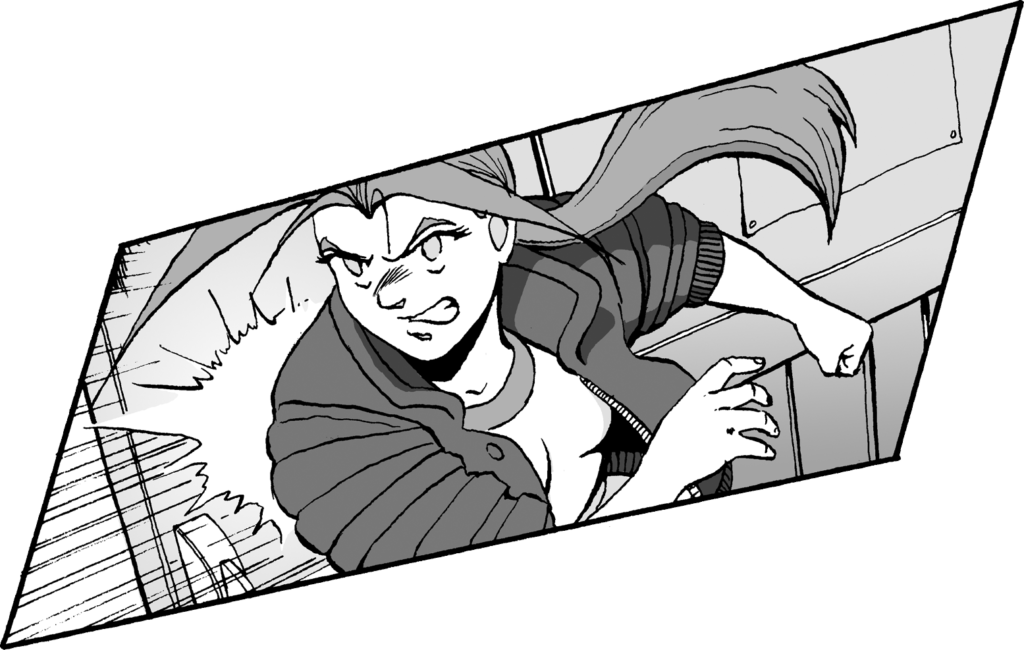
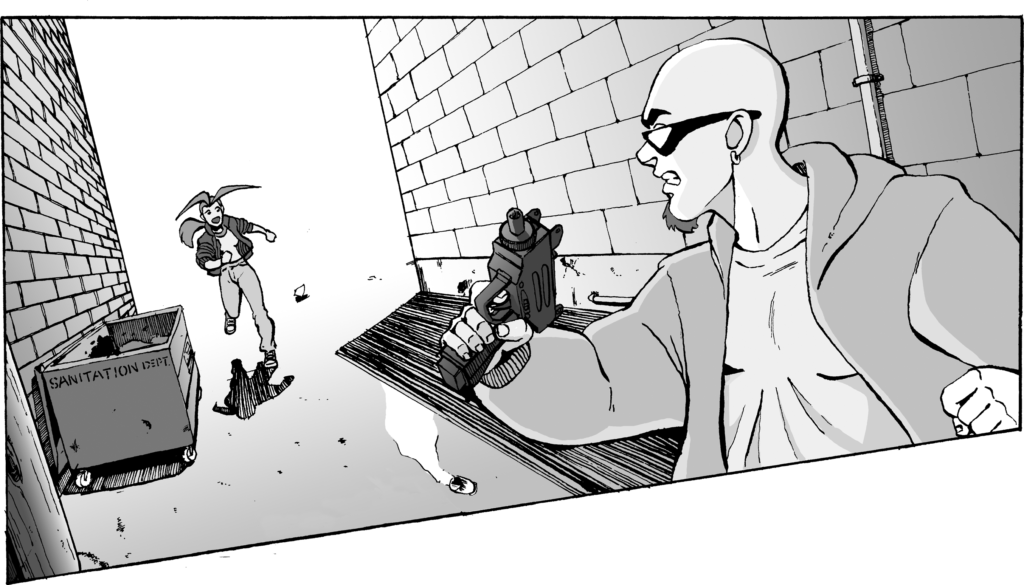
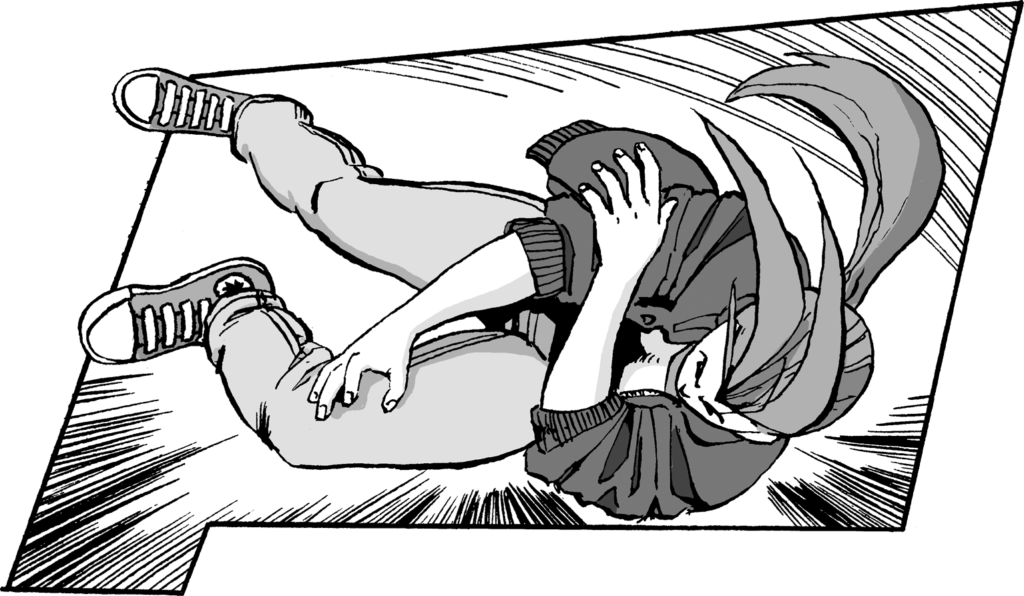
I was never really satisfied with this panel, but went with it…
So, we’ll be giving you weekly behind the scenes updates on the film project as we proceed (with a few extra goodies for subscribers and backers, of course!)

