
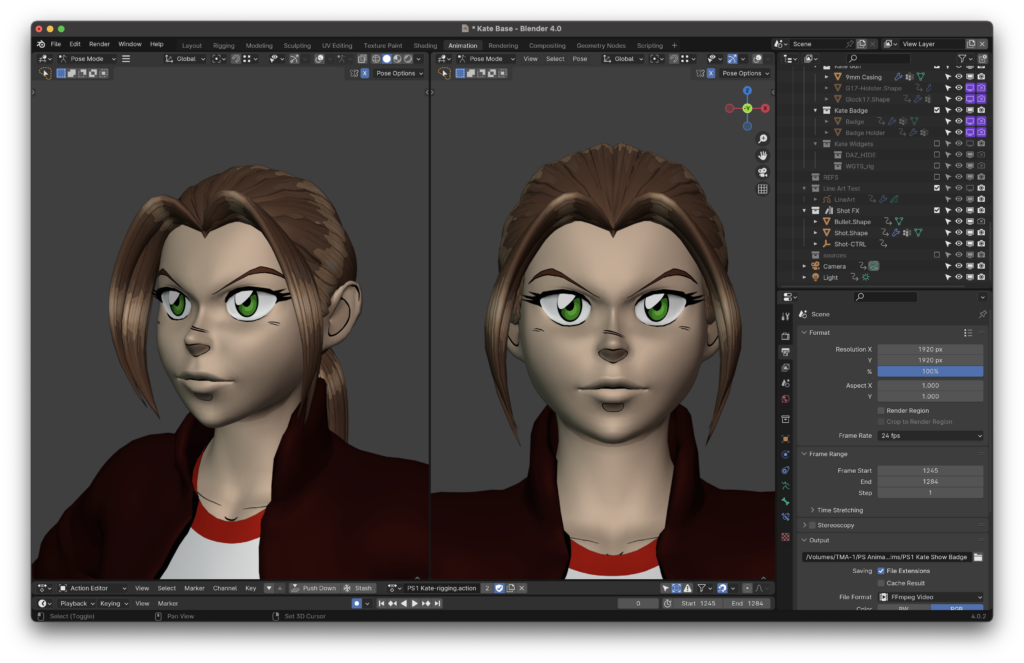
As promised, here’s a look at the process it took to create Kate for the film. It took nearly a month of work to create her, all told. However, about a week of that came from a previous version I created back in 2022 before starting on Restless Sleep. Then earlier this year, knowing that I wanted to animate Chinatown, I went through the process of updating and refining the character to make sure my job of animating her would be as easy and streamlined as possible.
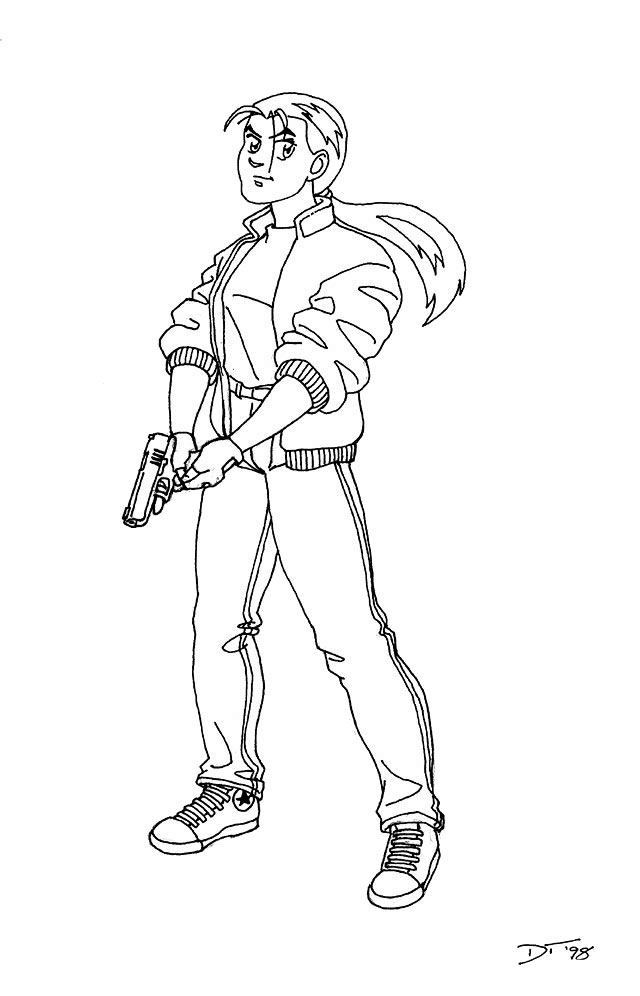
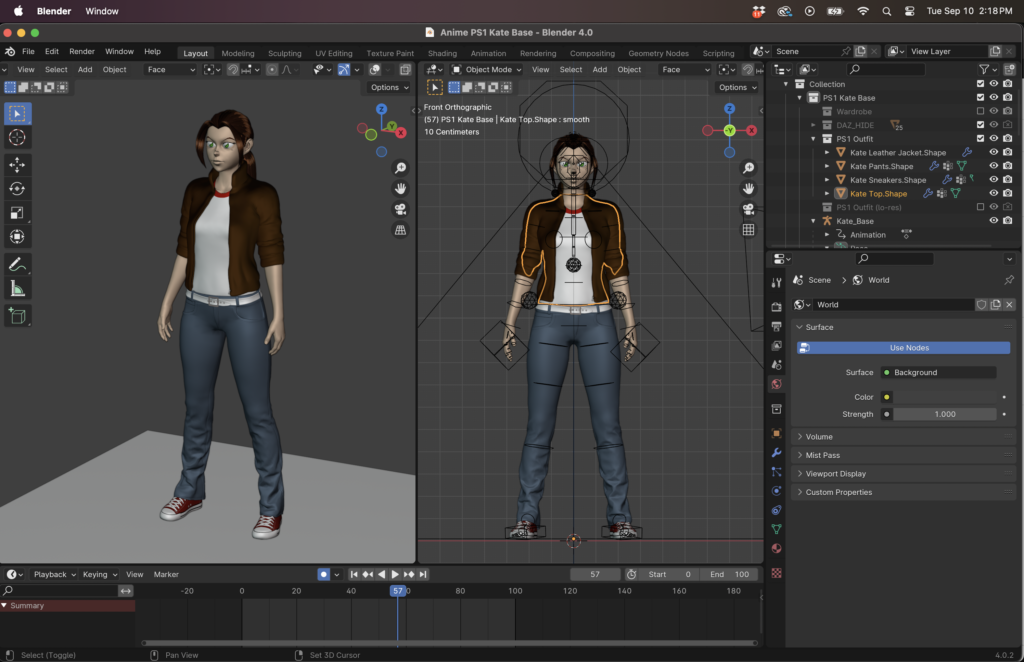
I started with the original Kate figure in DAZ Studio. Using the Genesis 8 Female figure as a base, I modeled the hair and face in Blender and imported the results back into DAZ Studio and applied them to the stock figure. Likewise, I modified the textures to reflect the cartoon look. The clothes were purchased and modded to closer match her outfit’s look from the comic.

Using a utility called “DAZ to Blender Bridge“, I exported the character rig to Blender for editing. At this point I have the body, hair, and clothes models and a basic bone armature, but there’s a lot left to do from this point.
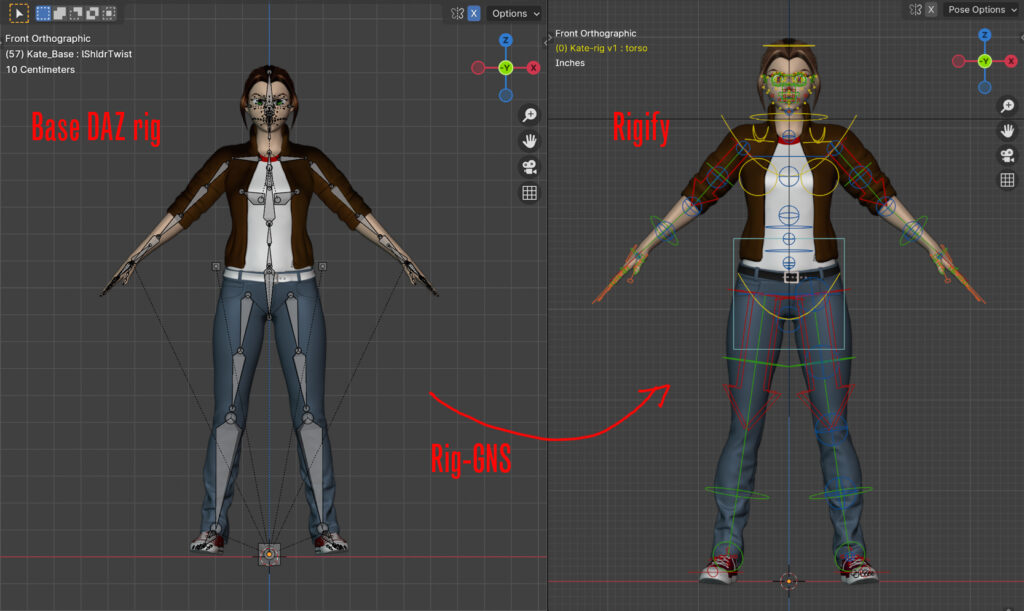
First, using a utility called RigGNS, I convert the basic Genesis 8 armature to the more sophisticated “Rigify” armature that comes with Blender. The “rigified” armature has way more control over how the character can move and has several incredibly useful animation features built in that makes animation a whole lot easier. The details are technical, but suffice to say it’s a huge improvement.
Now, Kate went through a couple of iterations at this point to before getting the final version that will be used in the film. First, I needed to do some additional modeling on the face and hair to clean them up and make them look better when rendering the cel-shaded look.
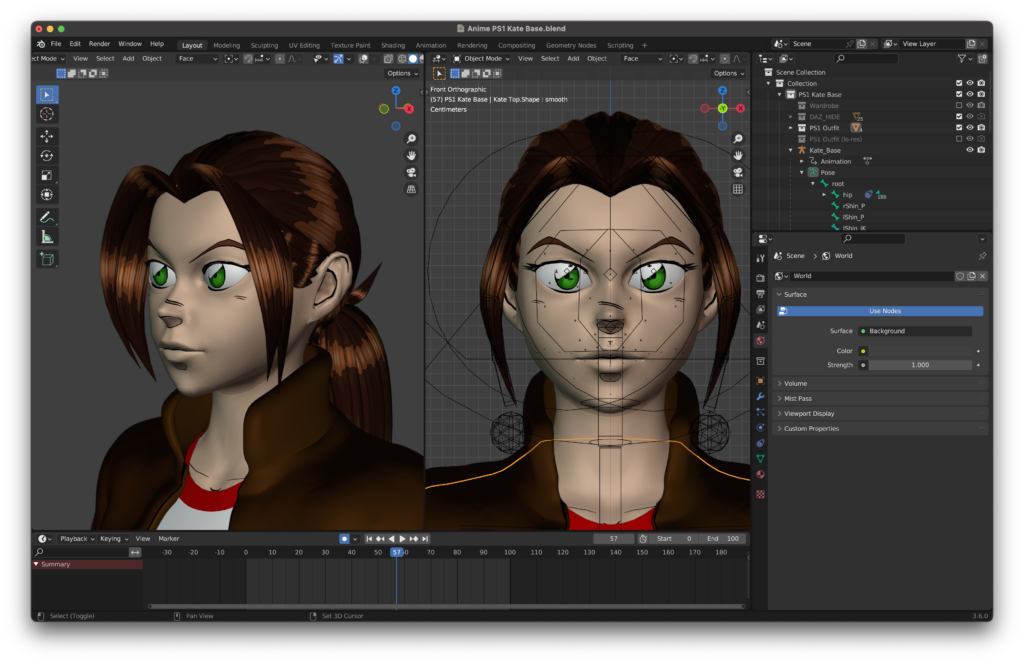
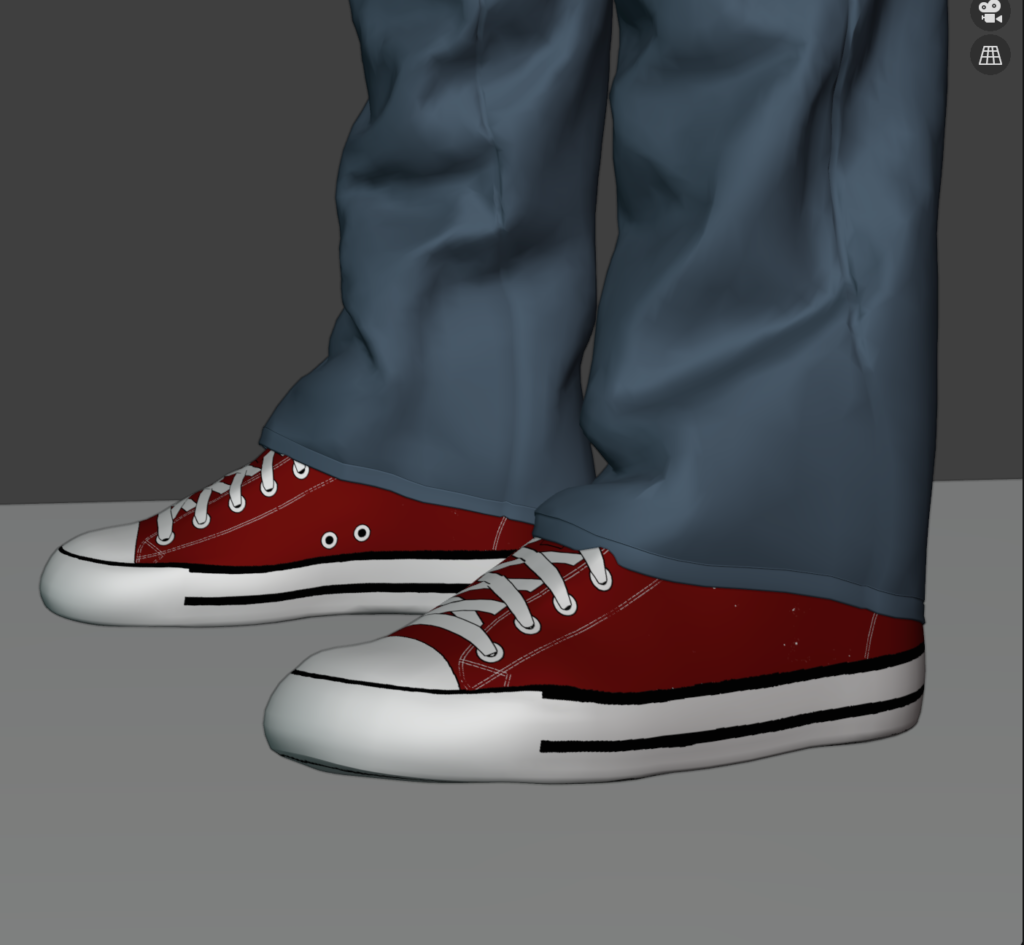
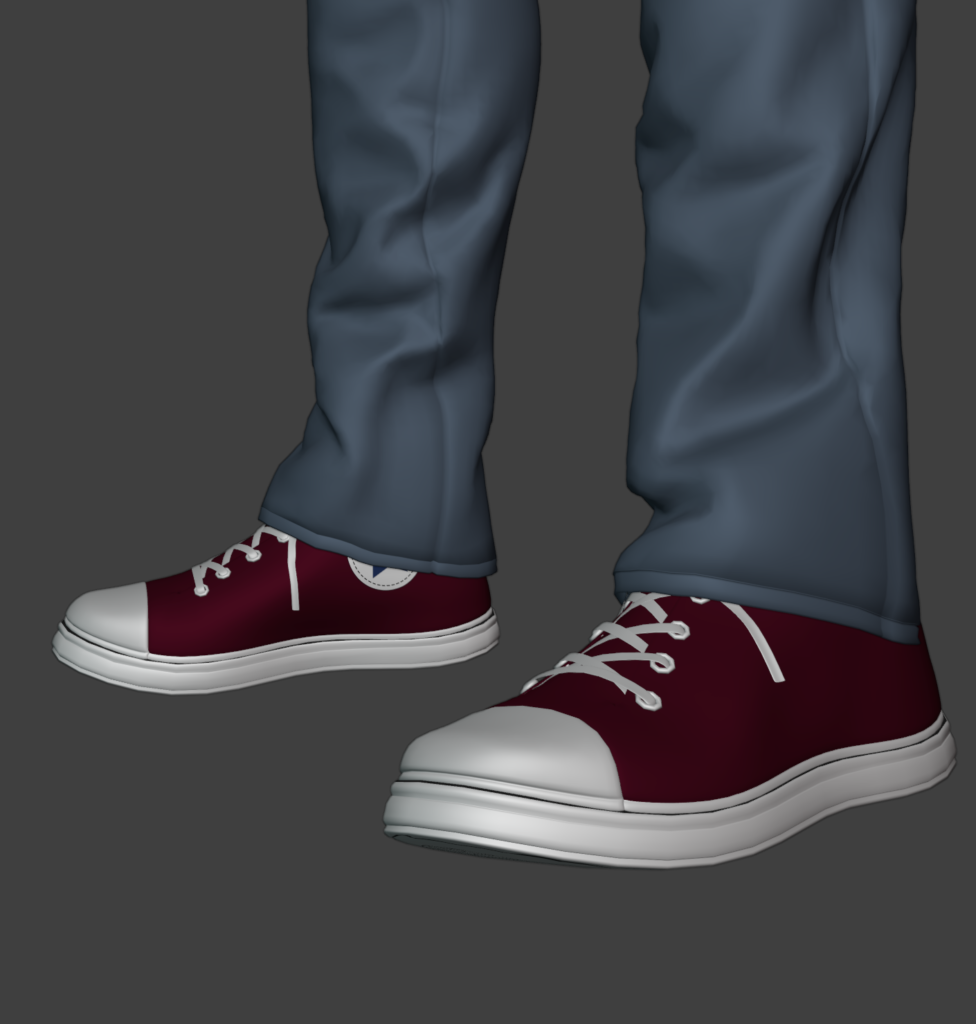
I also swapped out the shoes for a better model. I also had to rig the hair and the jacket myself.
As I said last week, there’s a ton of moving parts to set up for each character rig. Even after the character is set up to move, there’s some tweaks that have to happen to model to help with movement, especially with the shoulder, elbow, hip, and knee areas. To help speed this process up, I’ve created a pre-made animation that moves all the limbs one by one 5 frames at a time, so I can easily create something called “correctives” that fix the model when certain bones are moved to certain positions. This is especially important in the shoulder area, where the model gets really deformed if these fixes aren’t put in place.
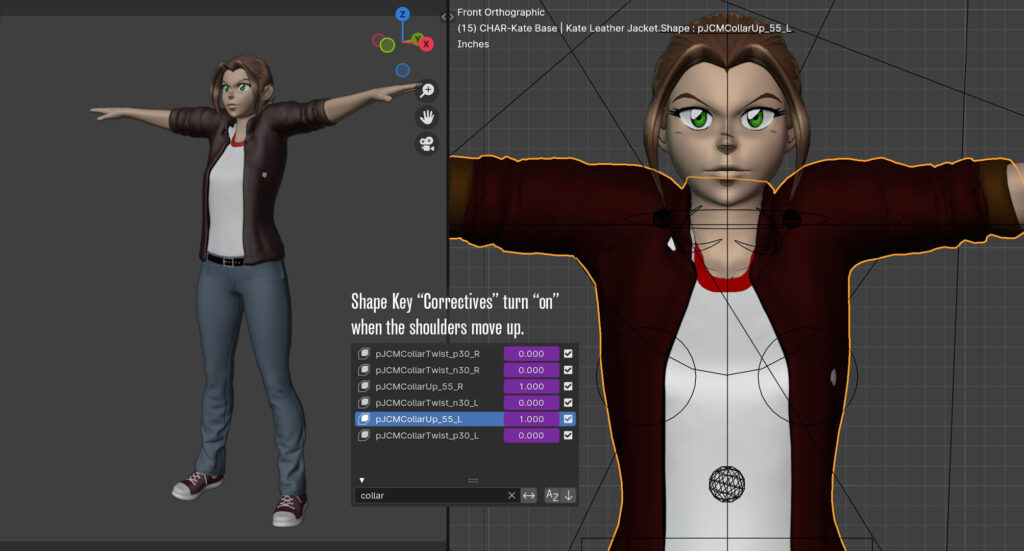
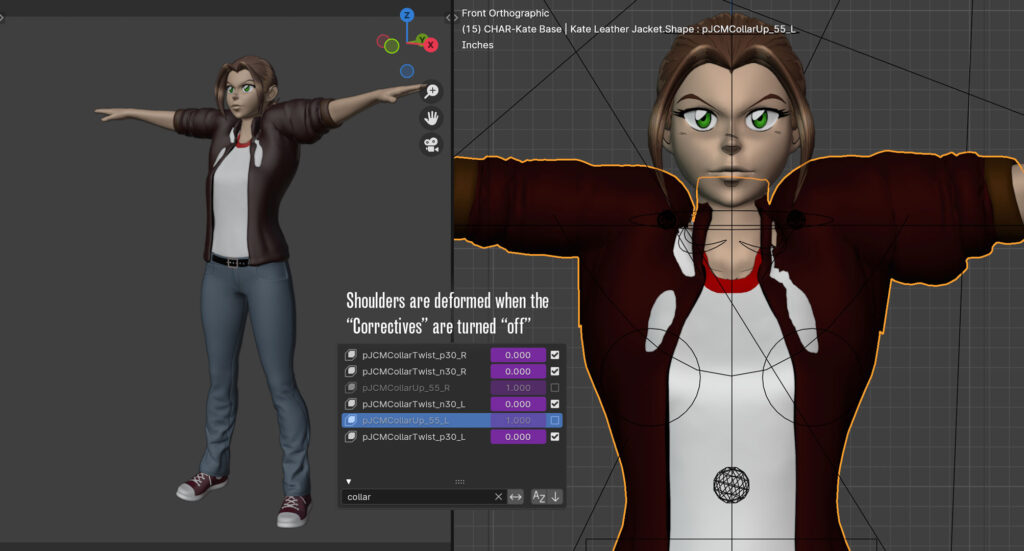
This setup process has to be repeated for both the character model and all the clothing models, for all the various arm and leg
Setting up the character in advance like this also gives me a chance to “bake in” some of the movements like facial expressions and hand gestures that will be used over and over again. So I used Blender’s “Asset Library” to save out all of Kate’s main expressions and hand gestures, so I can quickly dial them in during the animation process.


And that’s just for the basic character! She also can turn feral and bleed! But we’ll cover that in a future post. In the meantime, I hope this gives you a better idea into all the work that goes into making a character that is ready to animate!