It’s been busy couple months. I’ve been hard at work animating the film. Back in May, I decided to start with the most challenging scene in the film—the big kung fu fight!
I started with this one in part because we’re still finalizing the dialogue recordings with the cast, and there’s minimal dialogue in this scene. However, I also knew this was going to be the most difficult scene to animate in the whole film. Up to eight characters on screen at once, tricky lighting, and over forty shots for less than a minute of footage. I knew it was going to be a technical challenge, but also a ton of fun to animate. I estimated it would take about a month to complete.
Dear reader, it took two.
The animation itself was pretty straightforward. It took a couple of weeks to get all the initial keyframes done for all the shots, but then I needed to work out the rendering. That’s where things initially started to bog down. While render times weren’t a problem (even the most complicated renders only took 20-30 minutes for an entire shot layer), I quickly discovered the the lighting situation for the scene was more complicated than my character rigs could handle easily.
However, before diving in on fixing all that, I decided to finish out the animation by going from the “keyframing” phase where basic poses and timing is worked out, to “tweens” where the in-between frames are added to smooth out the motion. You can see the difference between the two here for this shot:
KEYFRAMES:
TWEENS:
Thankfully going from keyframes to tweening is pretty straightforward and really fun. In the case of the film, I’m animating on “2s” which is a fancy way of saying I’m animating at 12 frames per second (fps). The film itself is 24 fps, but I’ve found that limiting the characters to half that really helps “sell” the 2D animated look.
If you’re not familiar with how 3D animation works, there’s two main parts to the process:
ONE: ANIMATION — Pose the characters, props, and move the camera in 3D space to set up the movement:
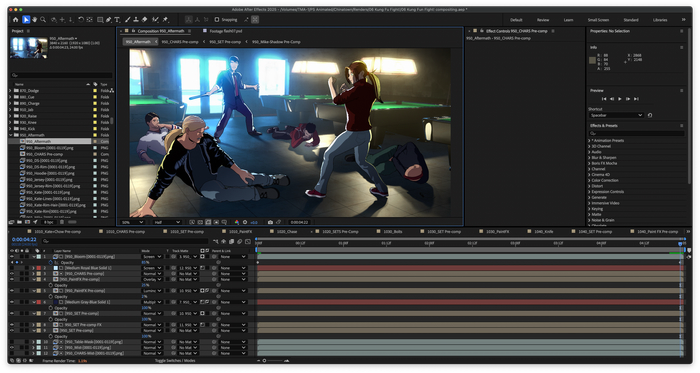
TWO: RENDERING — Set up the lighting and render out the final artwork with final colors and lighting, and in this case, ink outlines.
While in some cases you can get by with rendering out a single image with the characters and background completely finished, in practice this is rarely how it works in real life. In the case of PS Chinatown, I’m rendering out a minimum of two layers: one for characters, one for backgrounds, but for the more complicated shots, I’m rendering out literally DOZENS of layers and then assembling them in Adobe After Effects. I even figured out a way to fake a painted look for the backgrounds.
Once I was happy with how the movement was looking, it was time to turn to rendering, and fix all the problems I had with the first render pass.
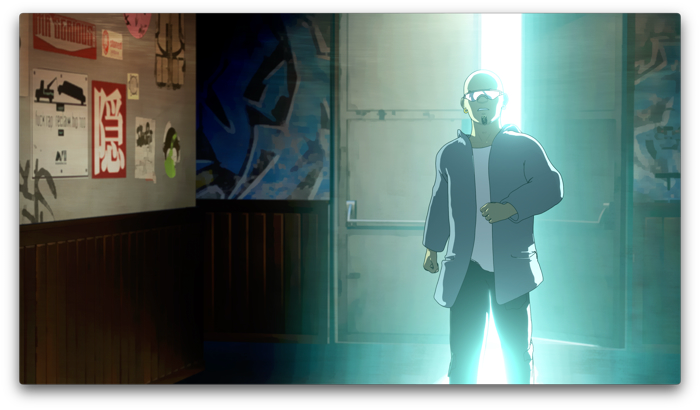
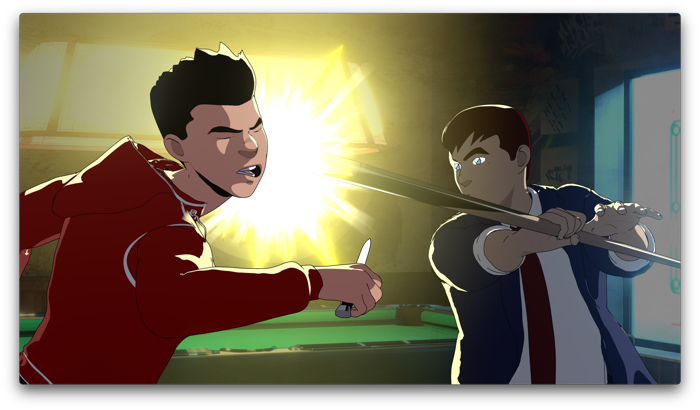
After getting an initial render test done for the entire scene in early April, I realized that I needed to make some improvements to the characters to really make it look great. The main culprit was a technique called “rim lighting” when you use a bright light behind a character or object to “pop” it out from the background. The initial character rigs supported this, but the results were a little clunky in the most extreme lighting conditions. In short, I just did not like the results:
So, I went back to the drawing board and re-thought how to implement a better scheme for creating the lighting on the characters. The answer ended up being incredibly techinical, involving editing the controls for lighting on a limb-by-limb basis (head, torso, arms, and legs), and then creating a separate render layer that can be easily edited in After Effects. Suffice to say it took some work and about a week to implement on all the characters. However, in the end the results were worth it!

However, during the rendering process, I had to completely revamp the work Nina and I had done in After Effects after the first round in late March/early April. And it took a couple of weeks to get all the shots updated and re-rendered. During this time I decided to bite the bullet and purchase a new M4 Max Mac Studio to replace my aging iMac I had been using as my desktop machine because it was starting to choke on the Blender scenes I’d set up (but that’s another blog post entirely.) Thankfully, the new machine has arrived and has sped up the rendering process tremendously (in part because I now easily render in the background while while continuing set up shots either in Blender or After Effects. Heaven!)
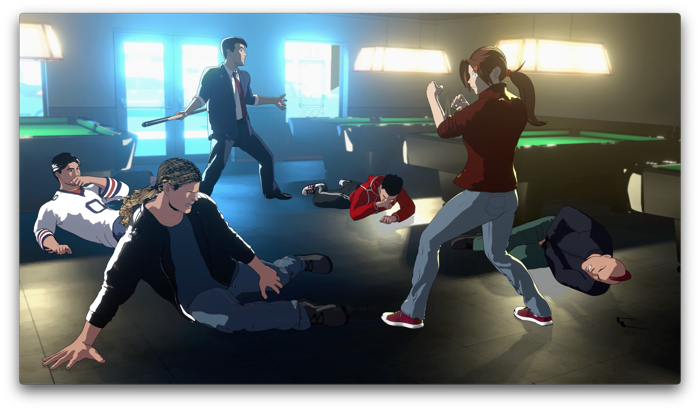
I finished rendering and compositing the last shot back in May, and have since passed all the shots along to Nina for cleanup. I’ve been working on action scenes that follow this ever since. I just started in on the gunfight finale and should be finished with that in August. I’ll update y’all on all that later!
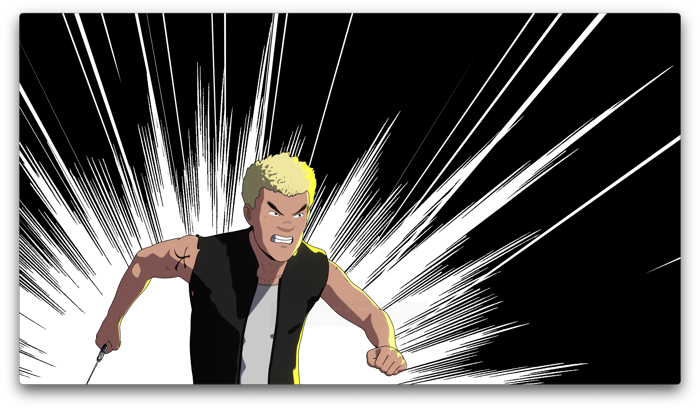
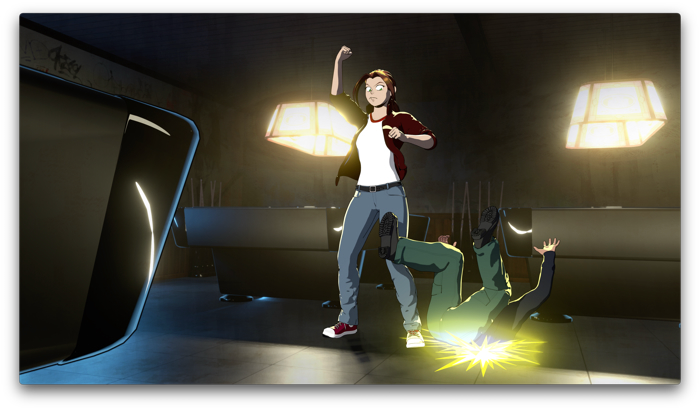
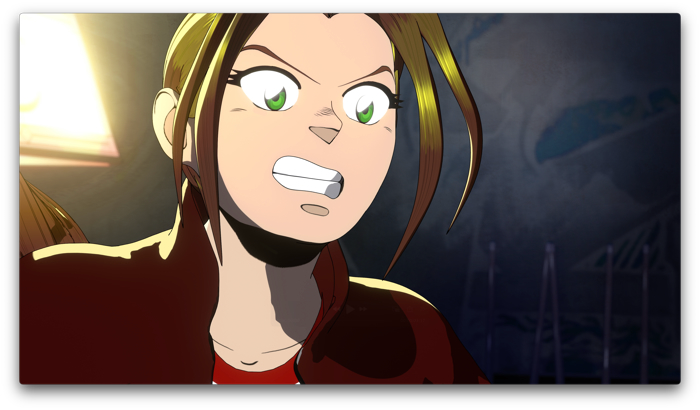
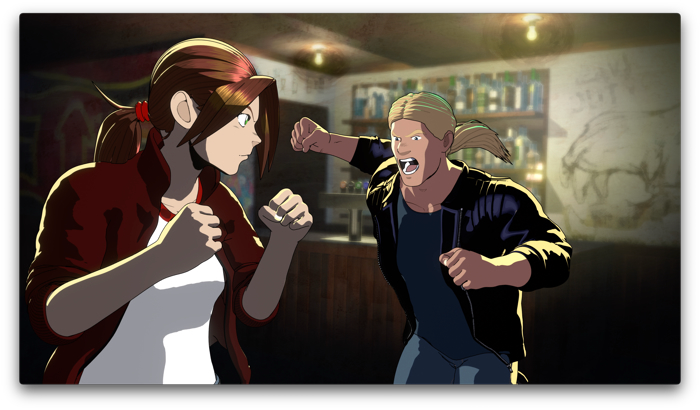
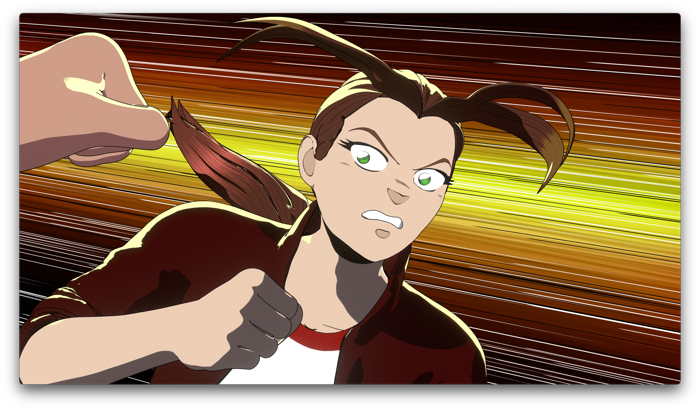
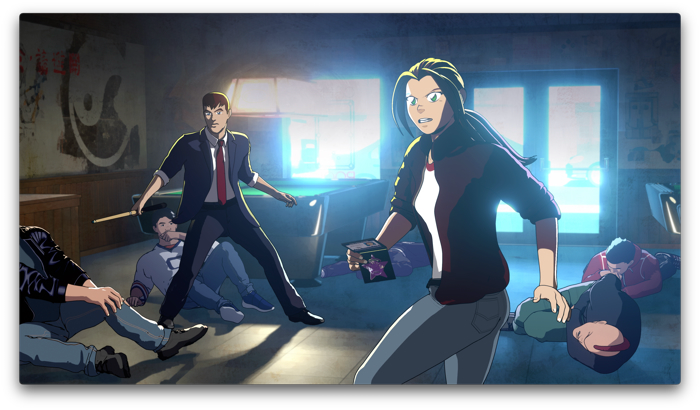
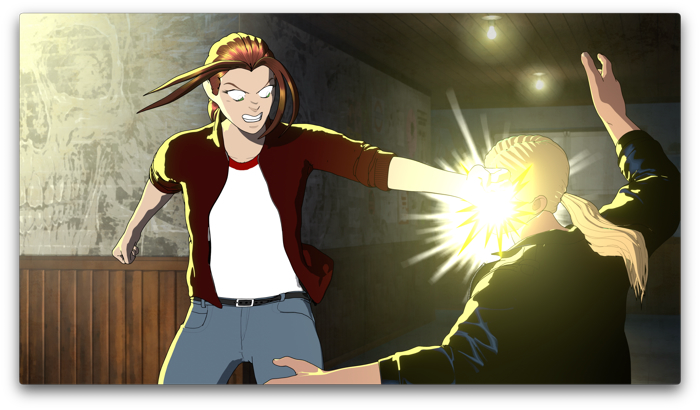
Anyway, here’s a few stills from the scene. Enjoy!